第1步:紙質素描
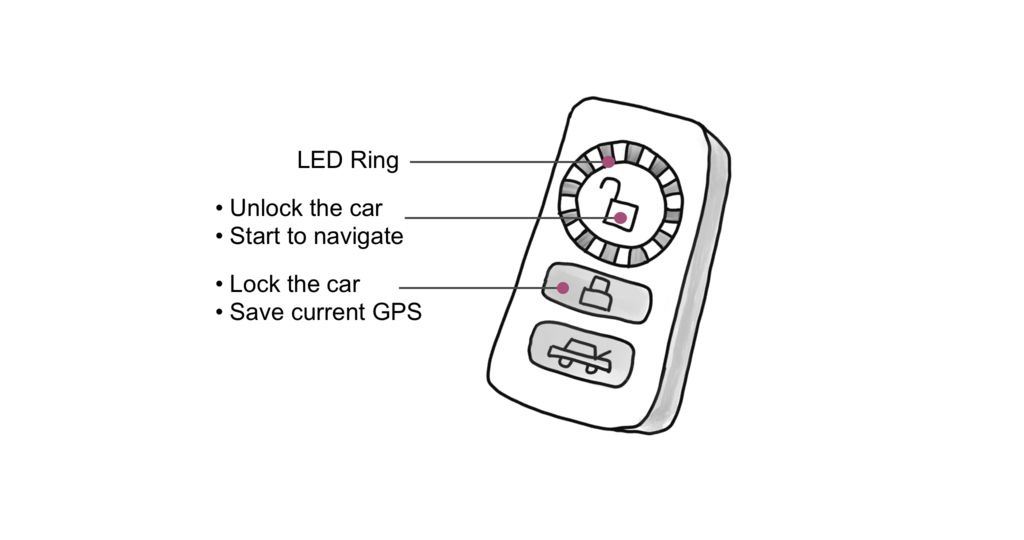
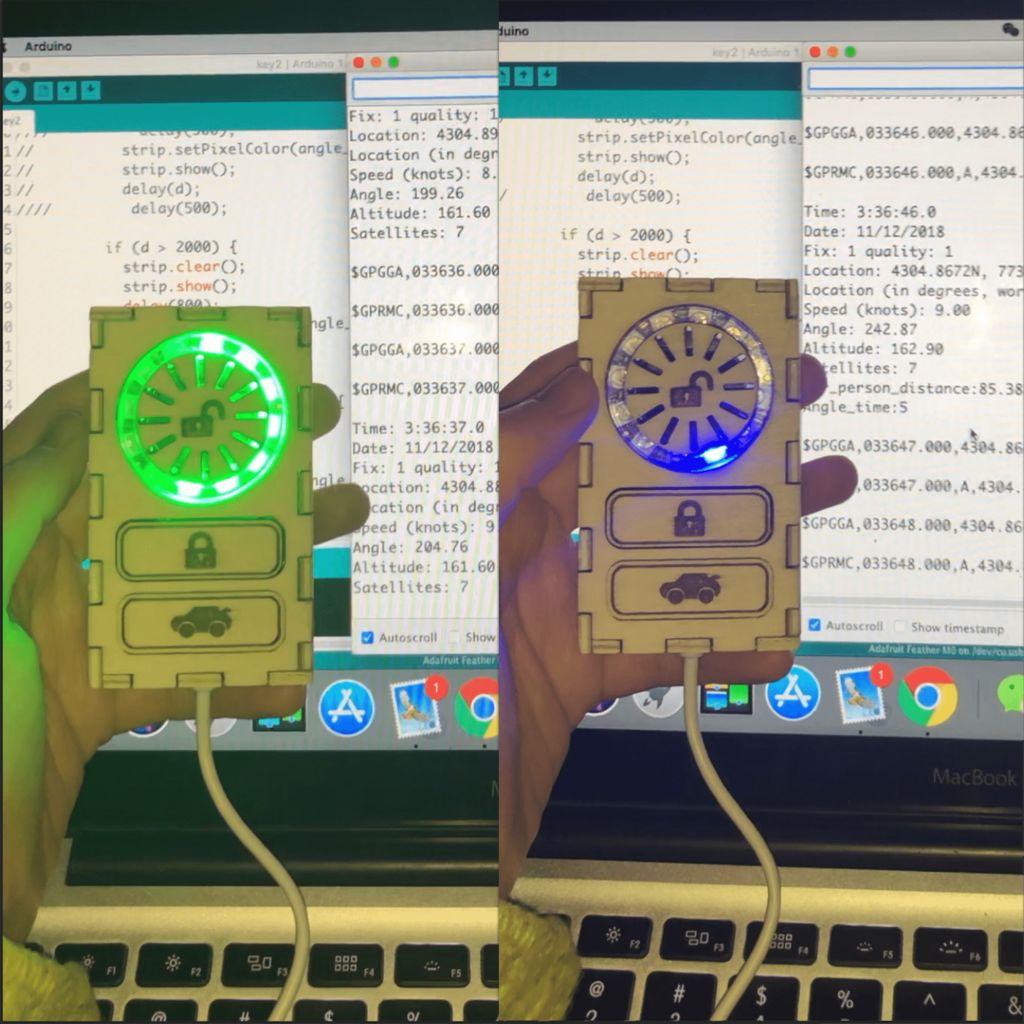
當人們按下按鈕鎖定汽車時,位置信息可以自動記錄在微控制器中。然后,當人們開始導航到汽車時,不同的LED被點亮以指向汽車的位置,閃爍的頻率顯示到汽車的距離。他們可以輕松跟蹤閃爍的LED并快速找到汽車。
第2步:硬件列表
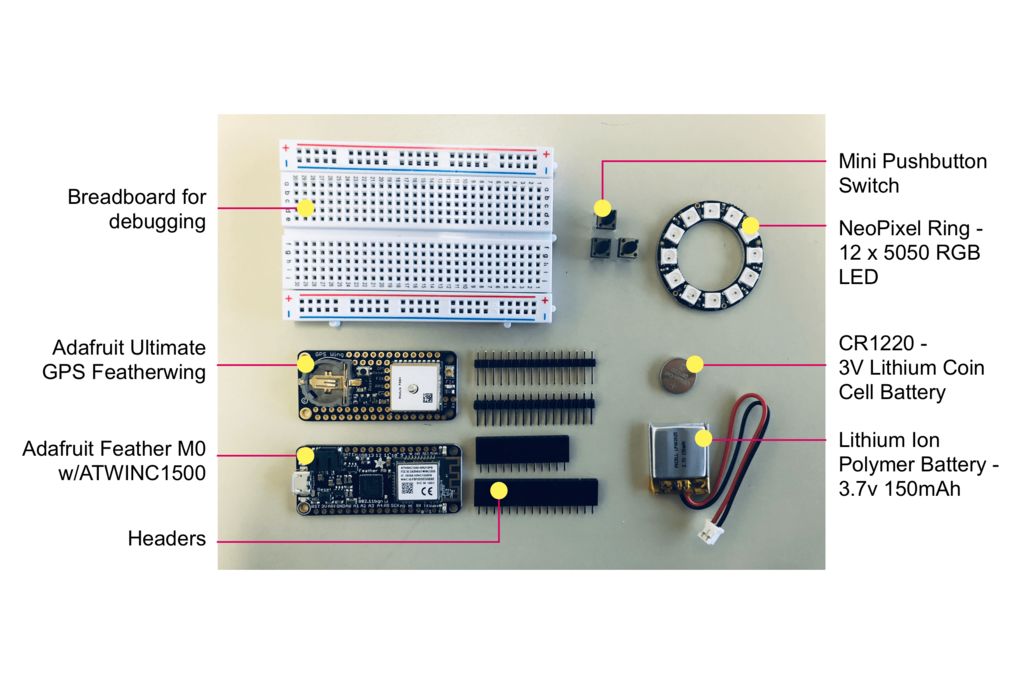
這些是該項目中使用的組件。一些來自粒子套件(面包板,按鈕,標題),其他來自Adafruit官方網站(Adafruit羽毛M0,Adafruit終極GPS模塊,Lpoly電池和紐扣電池)和亞馬遜(NeoPixel Ring - 12 RGB LED)。
步驟3:電路設計
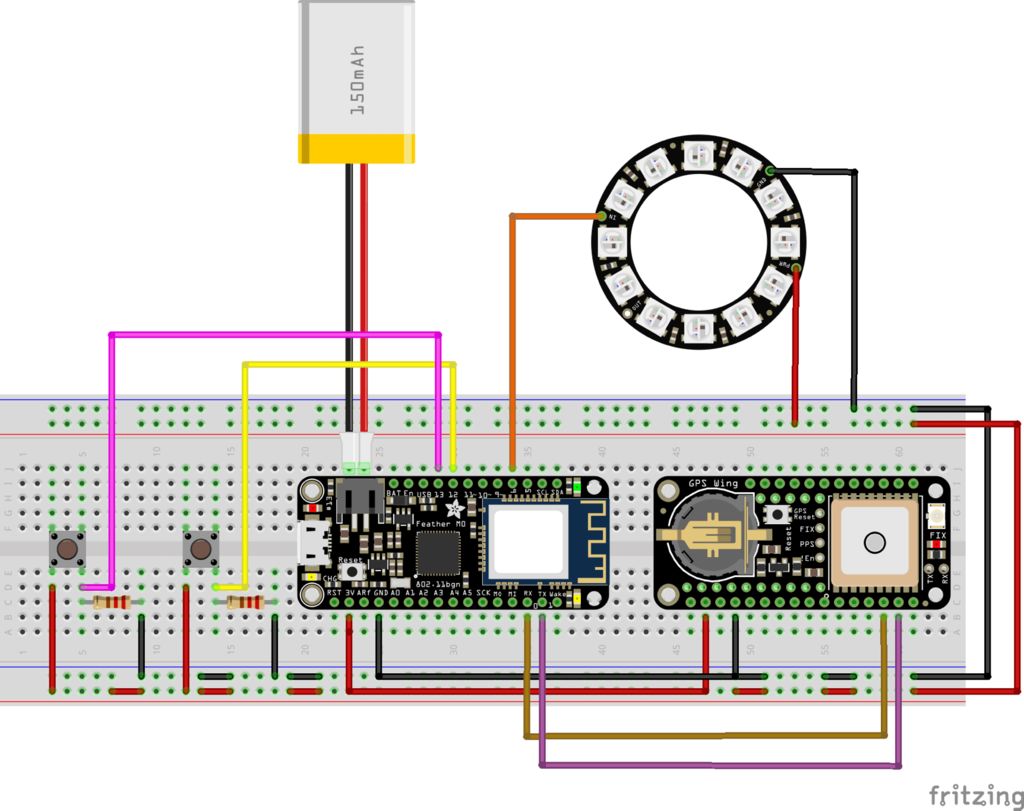
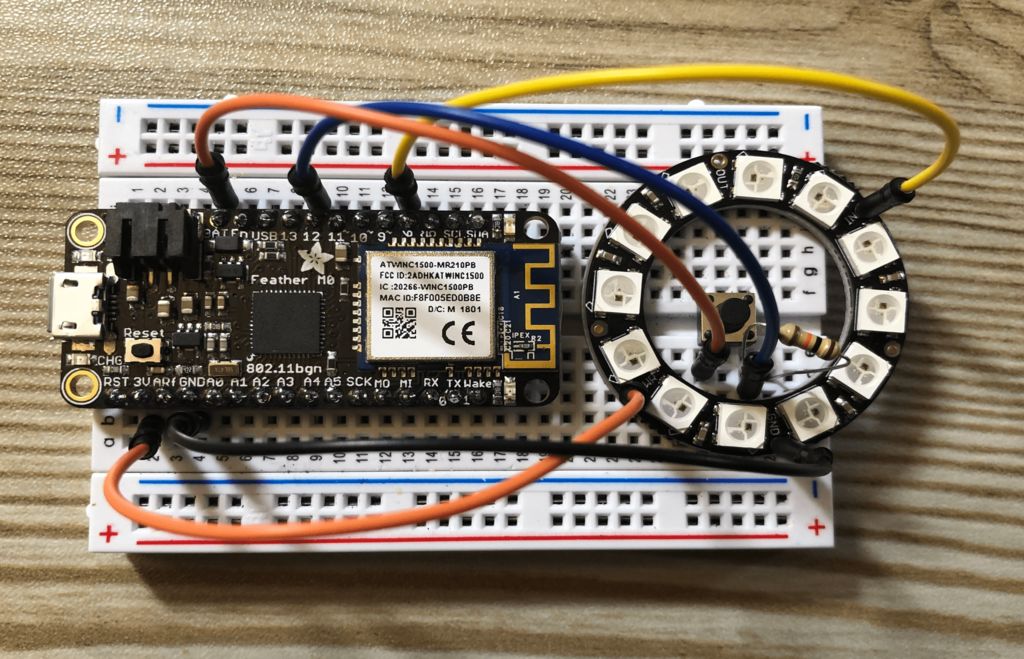
Neopixel_LED連接到羽毛M0的PIN 6
Button_Unlock連接到羽毛M0的PIN 12
Button_Lock連接到羽毛M0的PIN 13
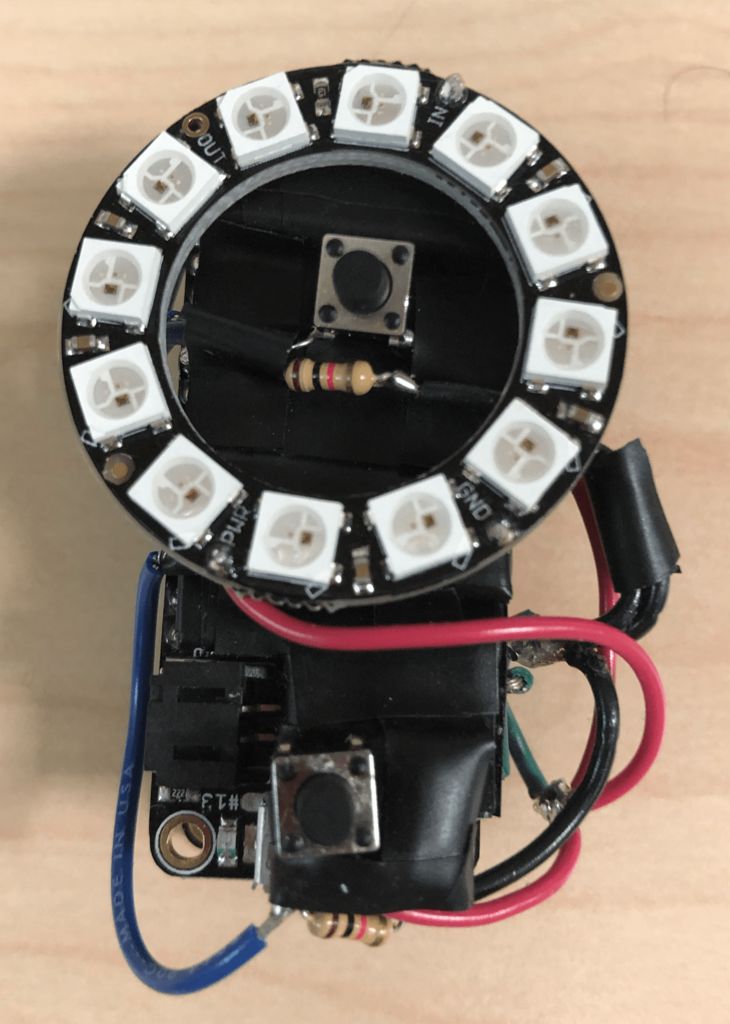
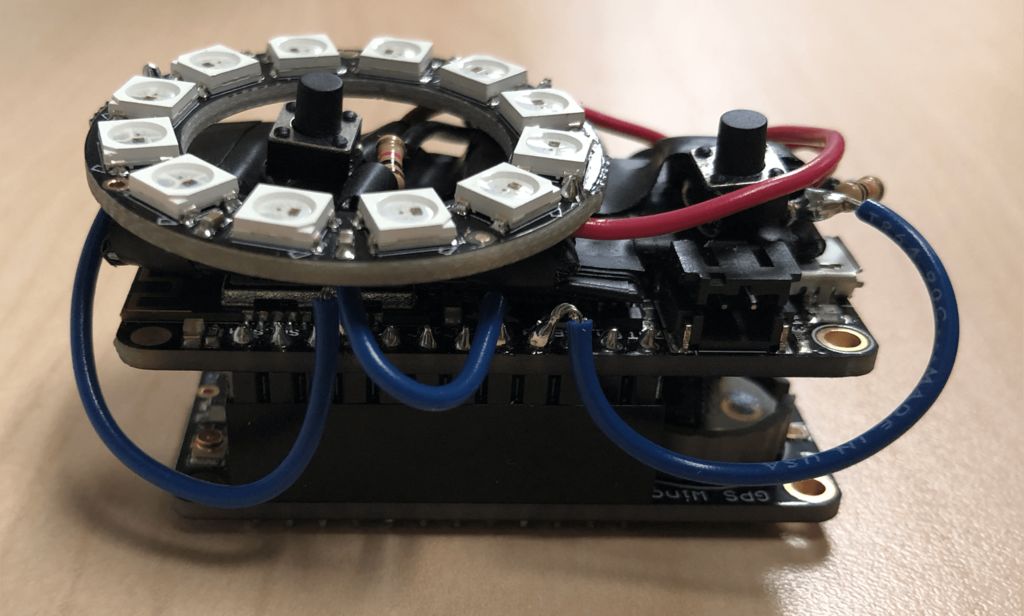
步驟4:硬件連接
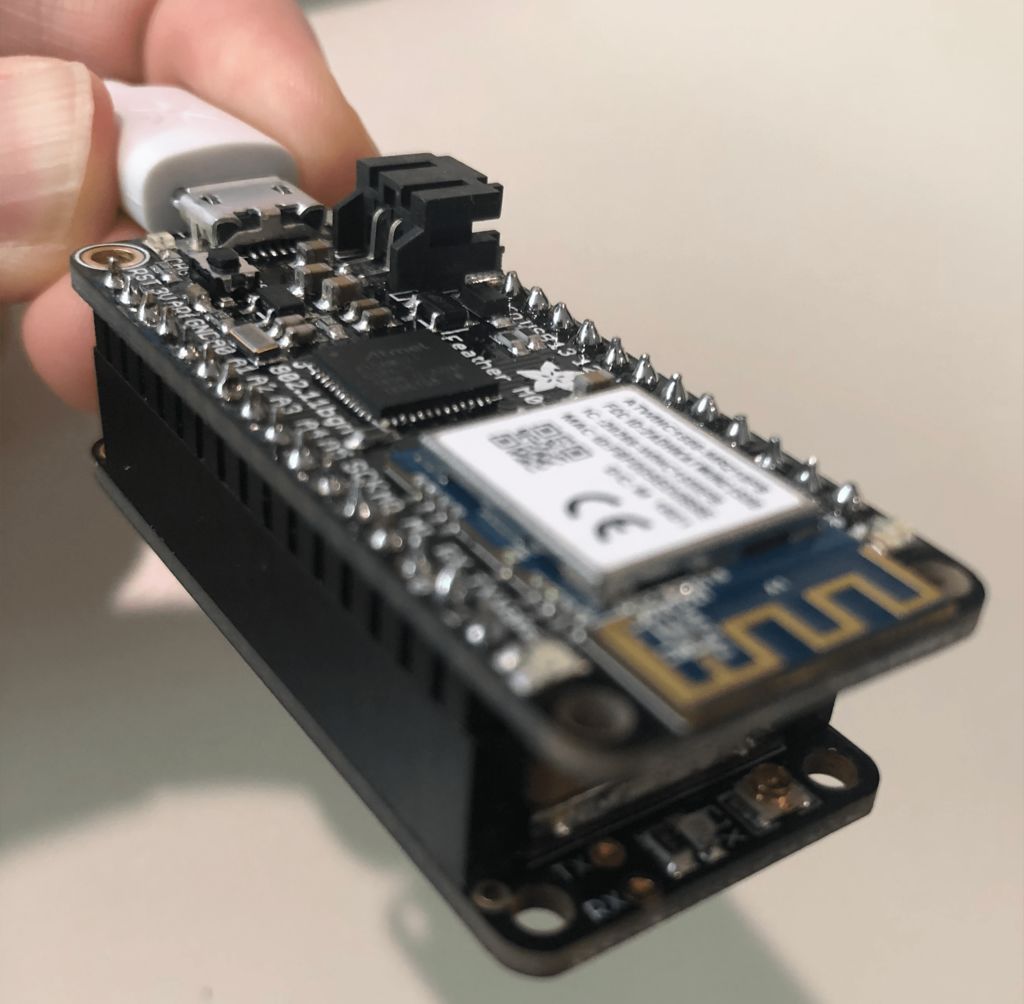
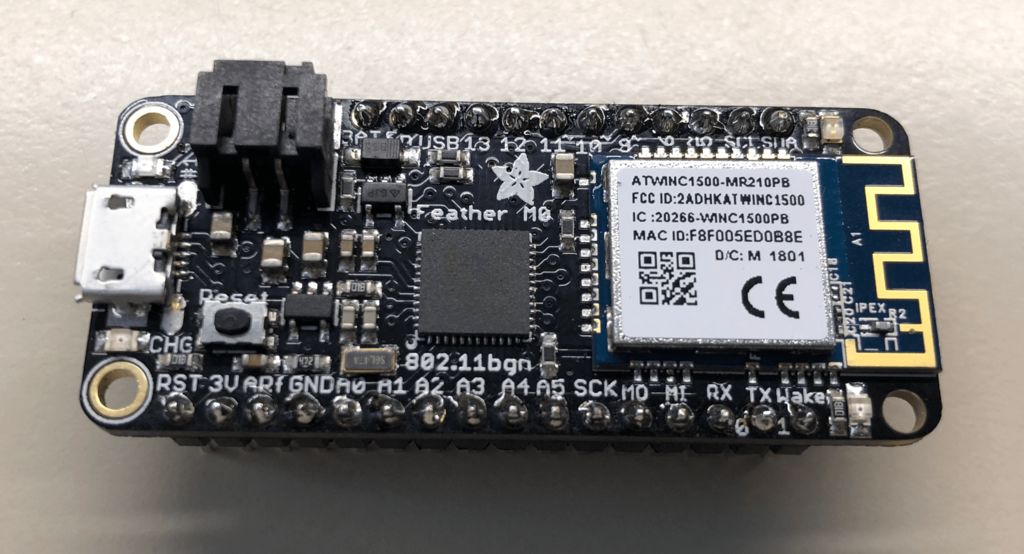
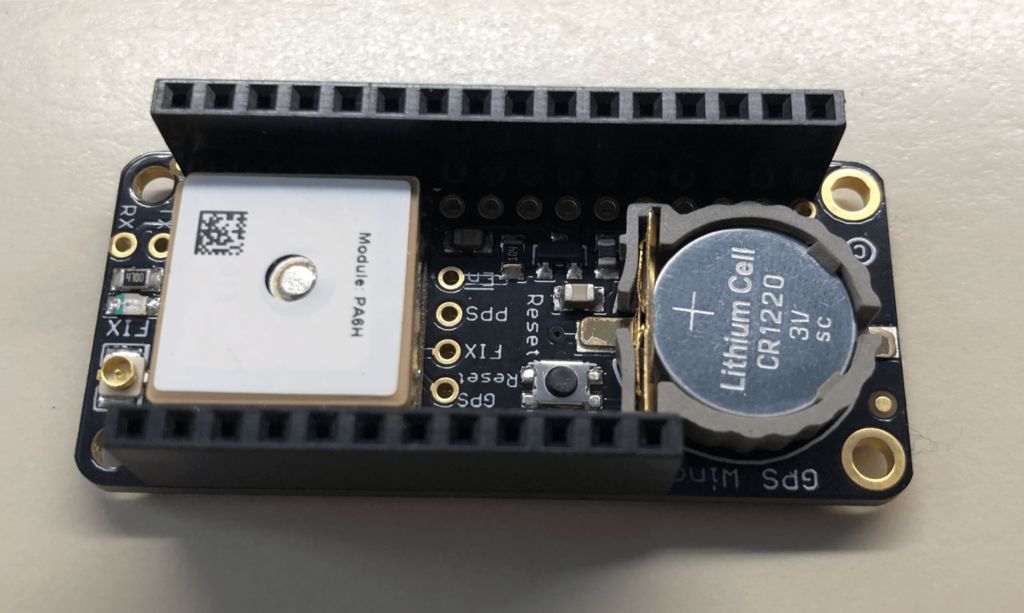
使用Adafruit M0 Feather,Adafruit Ultimate GPS Featherwing焊接標題。將兩塊板堆疊在一起。 GPS FeatherWing可以直接插入您的羽毛M0板,無需任何電線。
步驟5:軟件設計
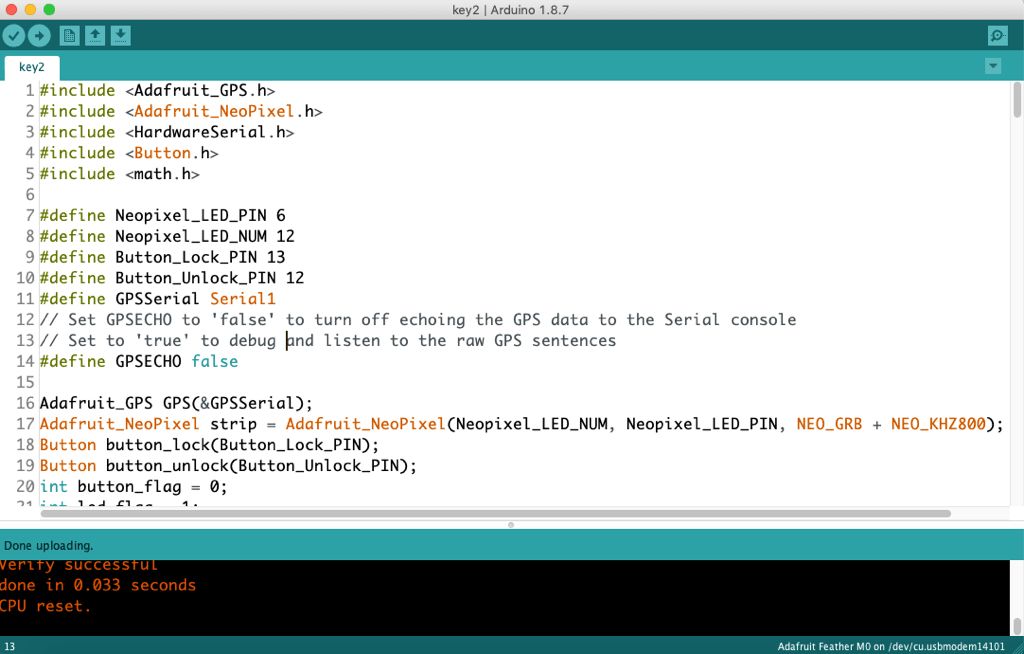
測試組件
閱讀FIX
void setup() {
Serial.println(“GPS echo test”);
Serial.begin(9600);
Serial1.begin(9600); // default NMEA GPS baud
} void loop() {
if (Serial.available()) {
char c = Serial.read();
Serial1.write(c);
}
if (Serial1.available()) {
char c = Serial1.read();
Serial.write(c);
}
}
閃爍LED指示燈
請參閱Adafruit NeoPixel示例。
GPS計算功能
計算方位角
// Calculate the Azimuth double azimuth(double lat_a, double lon_a, double lat_b, double lon_b) {
double d = 0;
lat_a = lat_a*PI/180;
lon_a = lon_a*PI/180;
lat_b = lat_b*PI/180;
lon_b = lon_b*PI/180;
d = sin(lat_a)*sin(lat_b)+cos(lat_a)*cos(lat_b)*cos(lon_b-lon_a);
d = sqrt(1-d*d);
d = cos(lat_b)*sin(lon_b-lon_a)/d;
d = asin(d)*180/PI; return d;
}
計算LED時鐘的時間,這也是車輛的方向
// Calculate the time on LED clock int led_time(double angle){
int flag = 0;
if (angle 《 0){
flag = 1;
}
angle = abs(angle);
double angle_remainder = fmod(angle, 30);
int angle_time = (int)angle/30;
if (angle_remainder 》= 15) {
angle_time = angle_time + 1;
}
if (flag == 1){
angle_time = 12 - angle_time;
}
return angle_time;
}
計算人與車輛之間的距離
// Calculate the Distance
double distance(double lat_a, double lon_a, double lat_b, double lon_b) {
double EARTH_RADIUS = 6378137.0; double radLat1 = (lat_a * PI / 180.0);
double radLat2 = (lat_b * PI / 180.0);
double a = radLat1 - radLat2;
double b = (lon_a - lon_b) * PI / 180.0; double s = 2 * asin(sqrt(pow(sin(a / 2), 2) + cos(radLat1) * cos(radLat2) * pow(sin(b / 2), 2)));
s = s * EARTH_RADIUS / 10000000;
return s;
}
LED顯示功能
點亮LED顯示它開始導航的圓圈
// LED ring lighting one by one shows that the navigation begins void colorWipe(uint32_t c, uint8_t wait) {
for(uint16_t i=0; i strip.setPixelColor(i, c);
strip.show();
delay(wait);
}
}
根據距離獲取LED頻率
// Get LED Frequency int frequency(double distance){
int f = (int)distance * 20;
return f;
}
閃爍指示汽車方向的特定LED
//Display on LED
主要
strip.clear();
strip.show();
delay(frequency(car_person_distance));
// delay(500);
strip.setPixelColor(angle_time, strip.Color(0, 0, 255));
strip.show();
delay(frequency(car_person_distance));
// delay(500); //Disable LED if (button_flag == 1 && car_person_distance 《 5.0){
button_flag = 0;
led_flag = 1;
strip.clear();
strip.show();
} #include Adafruit_GPS.h
#include Adafruit_NeoPixel.h
#include HardwareSerial.h
#include Button.h
#include math.h #define Neopixel_LED_PIN 6
#define Neopixel_LED_NUM 12
#define Button_Lock_PIN 13
#define Button_Unlock_PIN 12
#define GPSSerial Serial1
#define GPSECHO false
步驟6:在面包板上調試
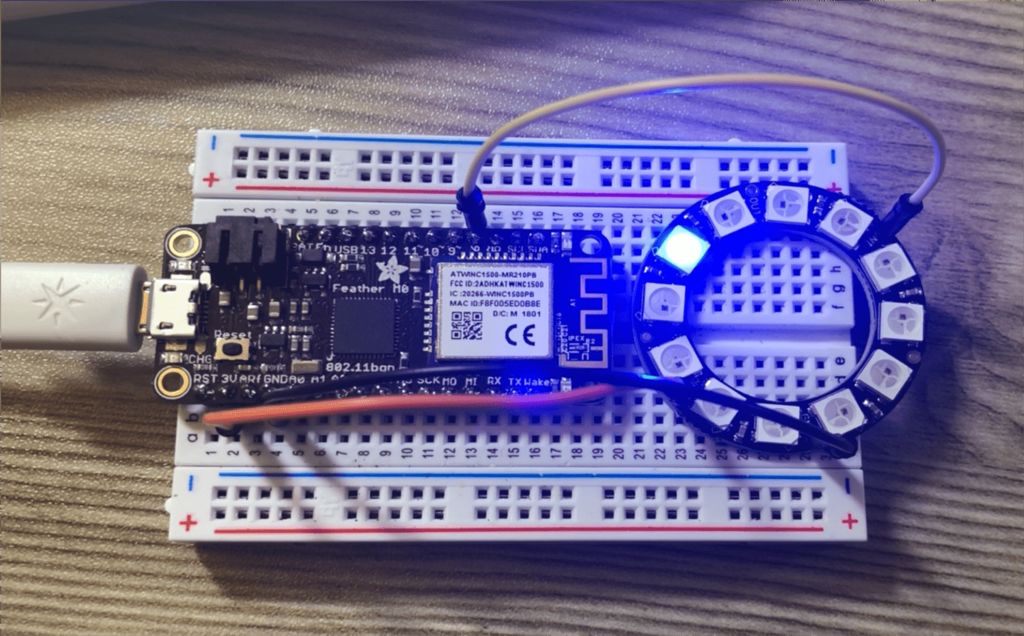
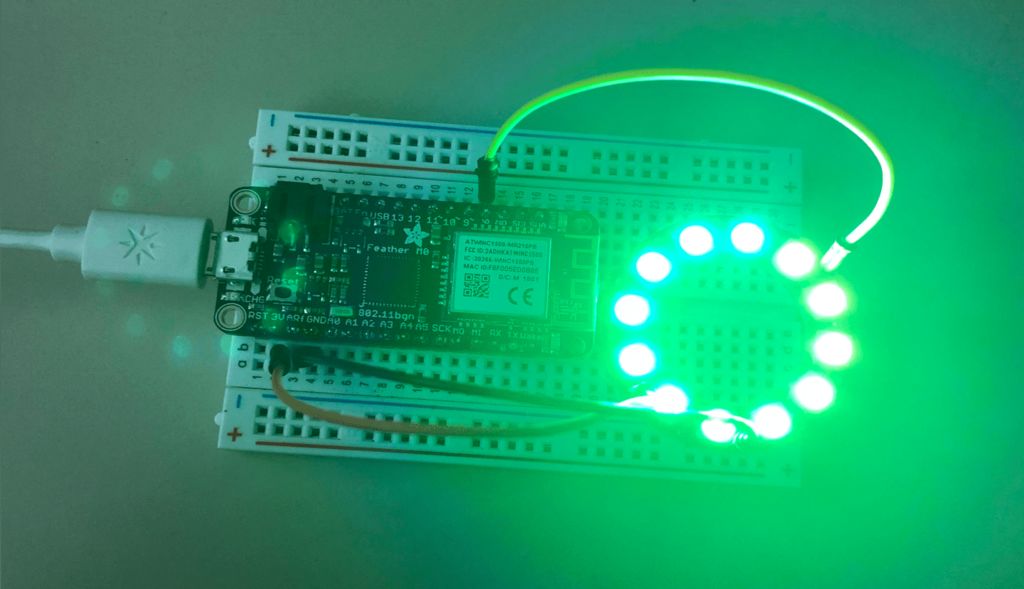
步驟7:硬件組裝
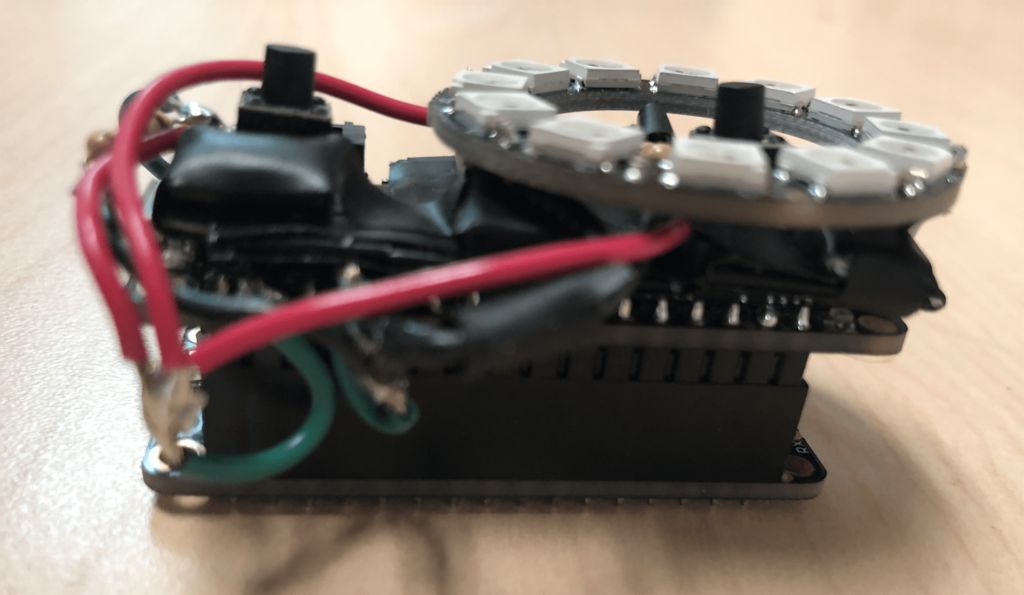
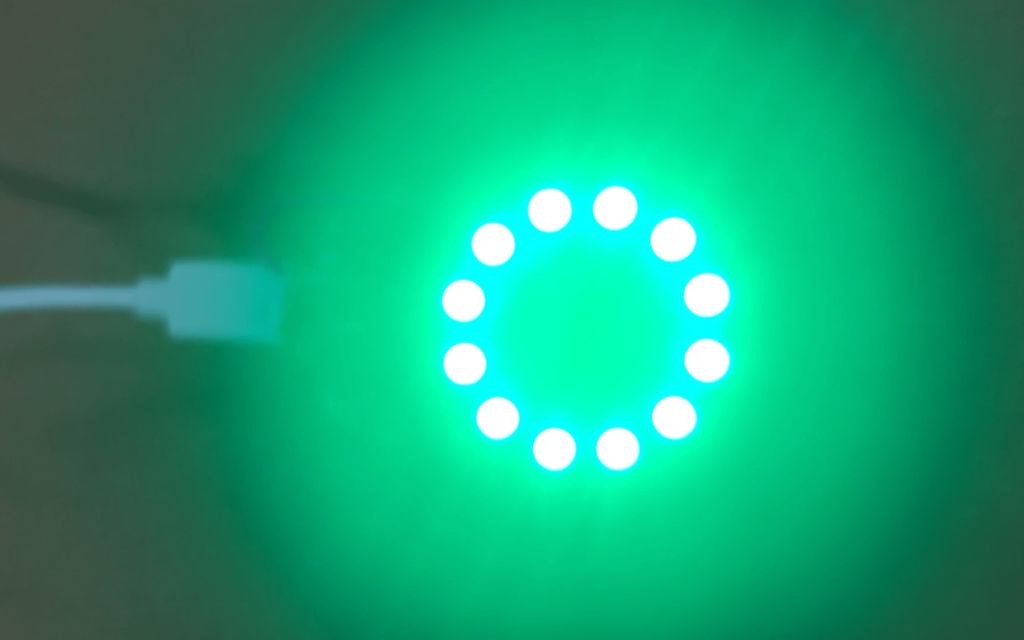
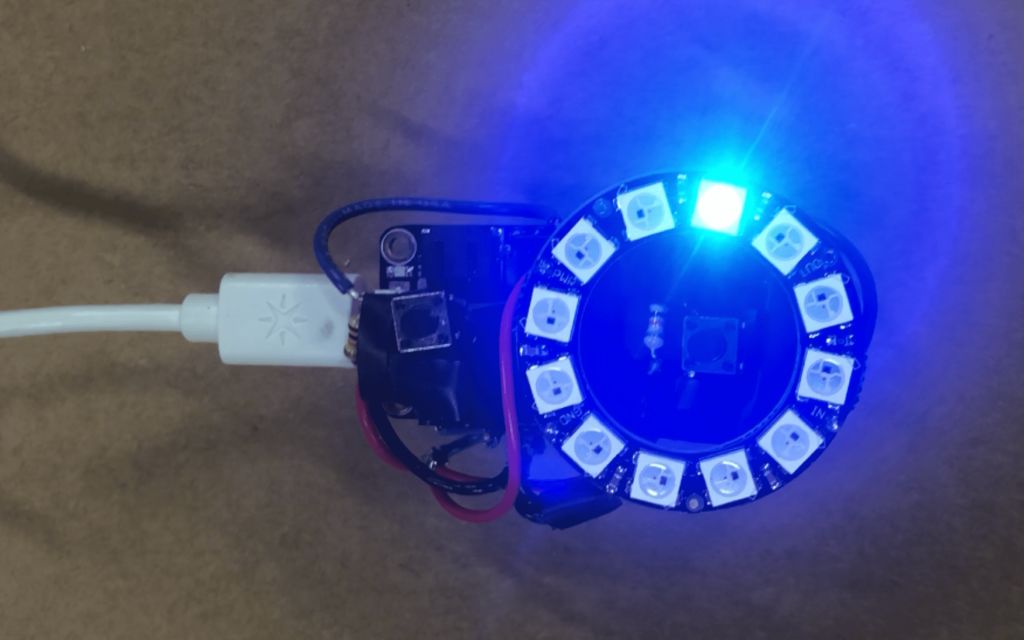
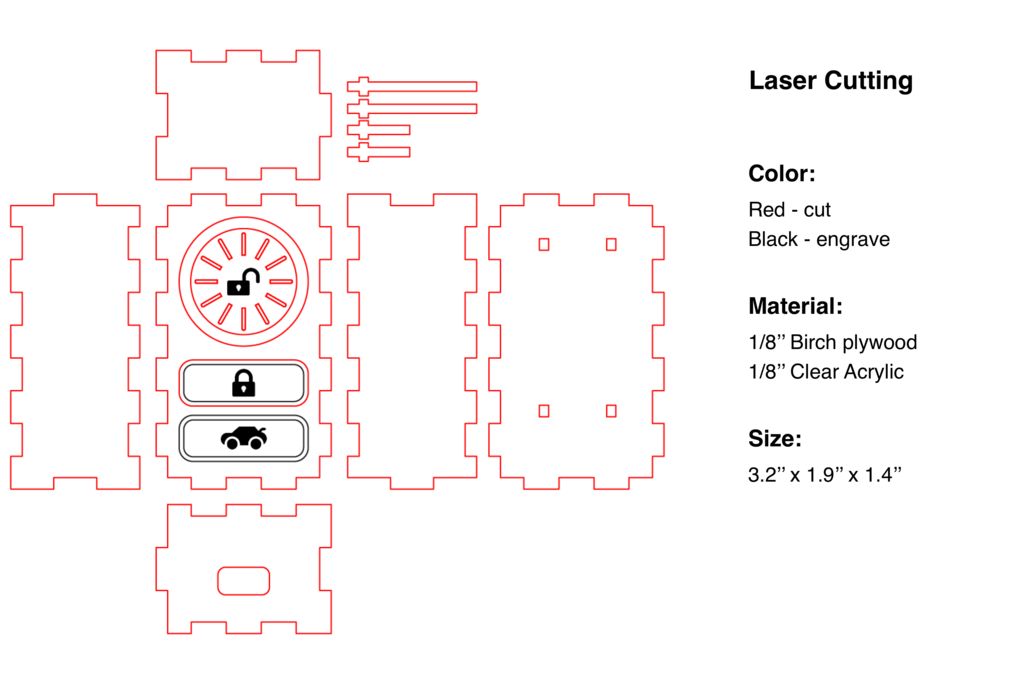
步驟8:Adobe Illustrator中的電子設備外殼設計
步驟9:紙板原型
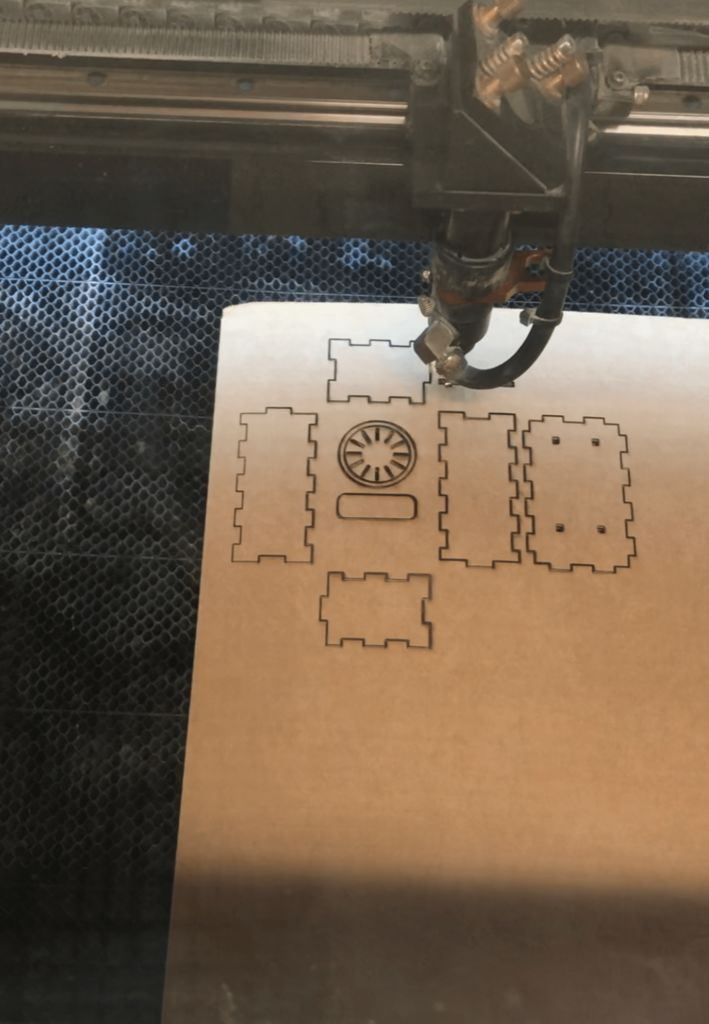
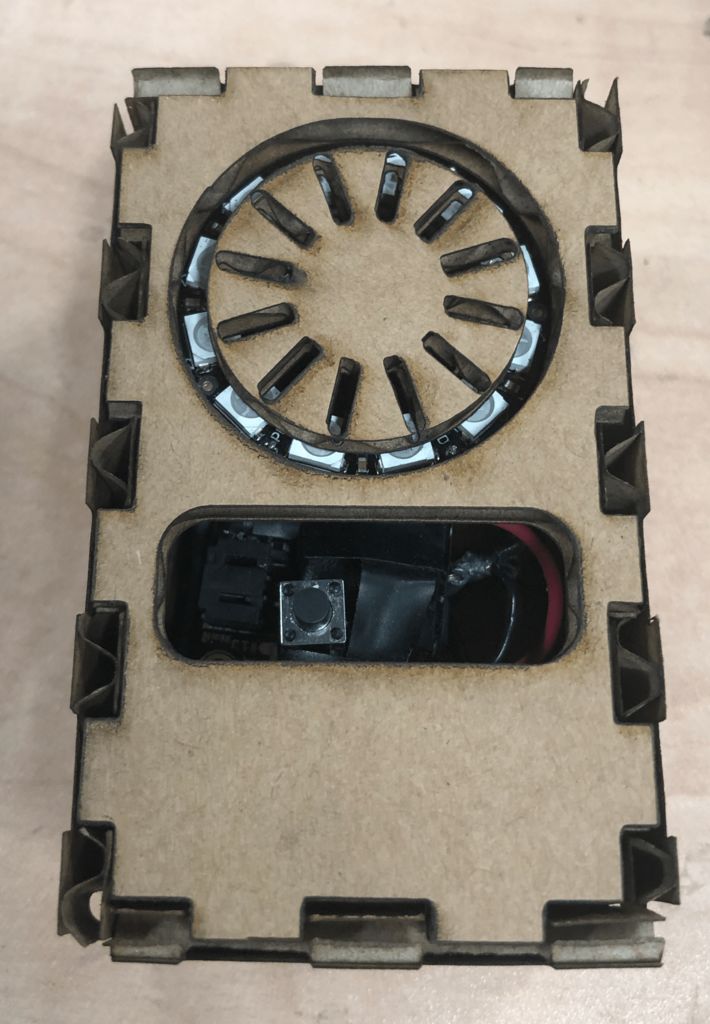
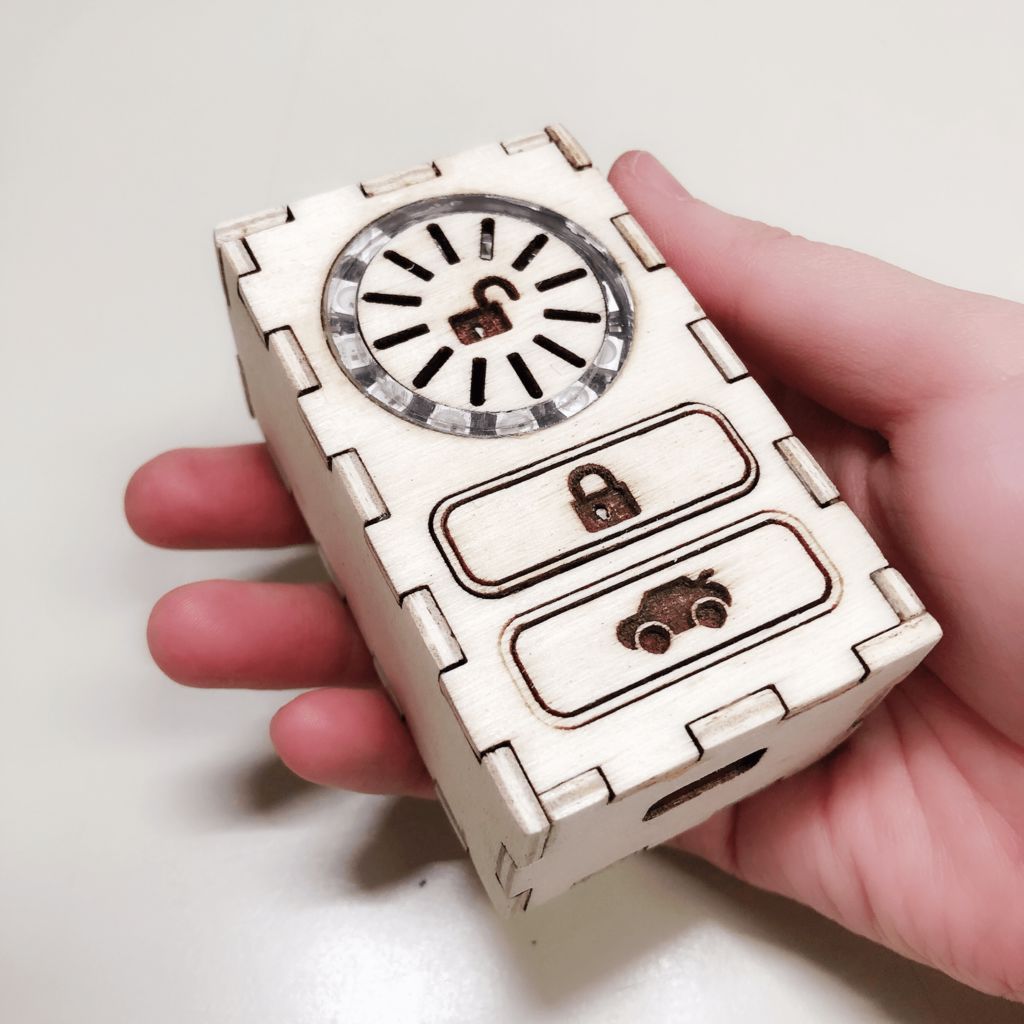
此步驟用于確認外殼尺寸和每個型號,確保盒子尺寸,按鈕位置和LED位置適合組裝的電子元件。
步驟10:樺木膠合板原型
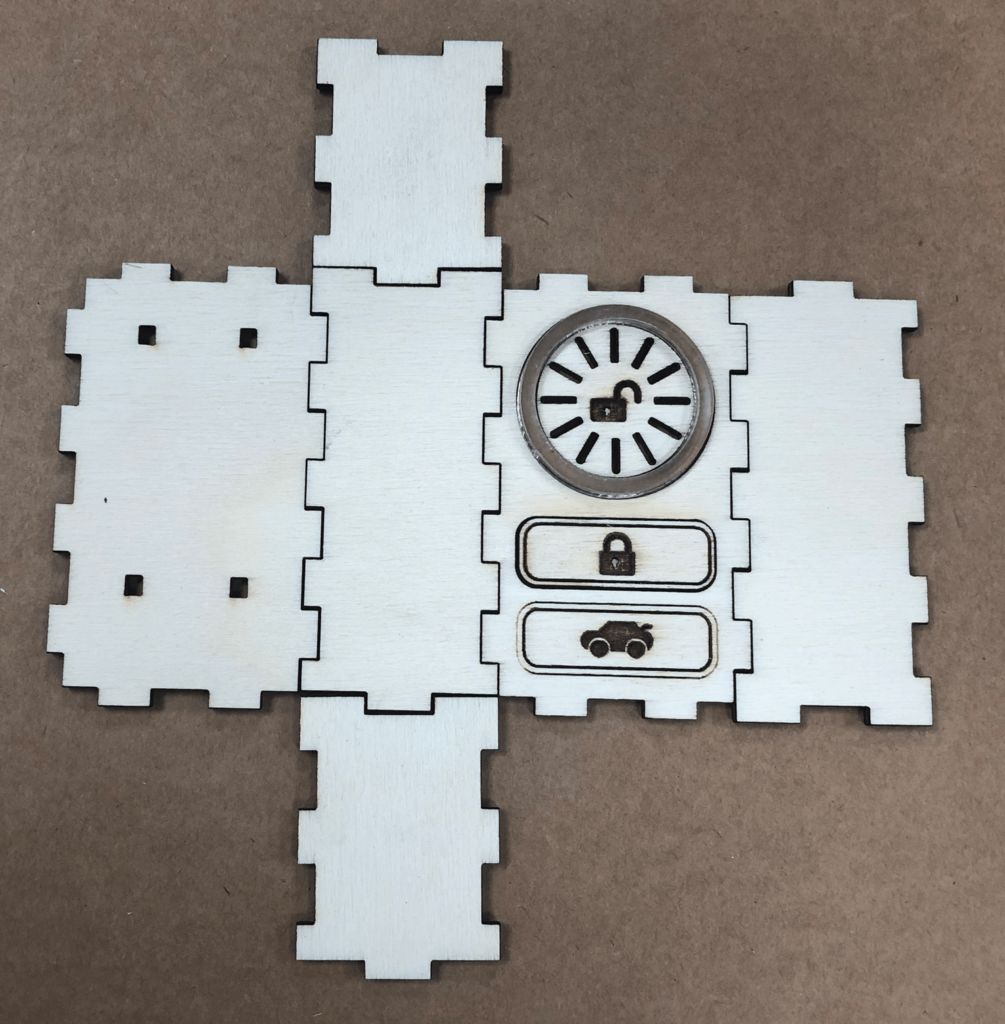
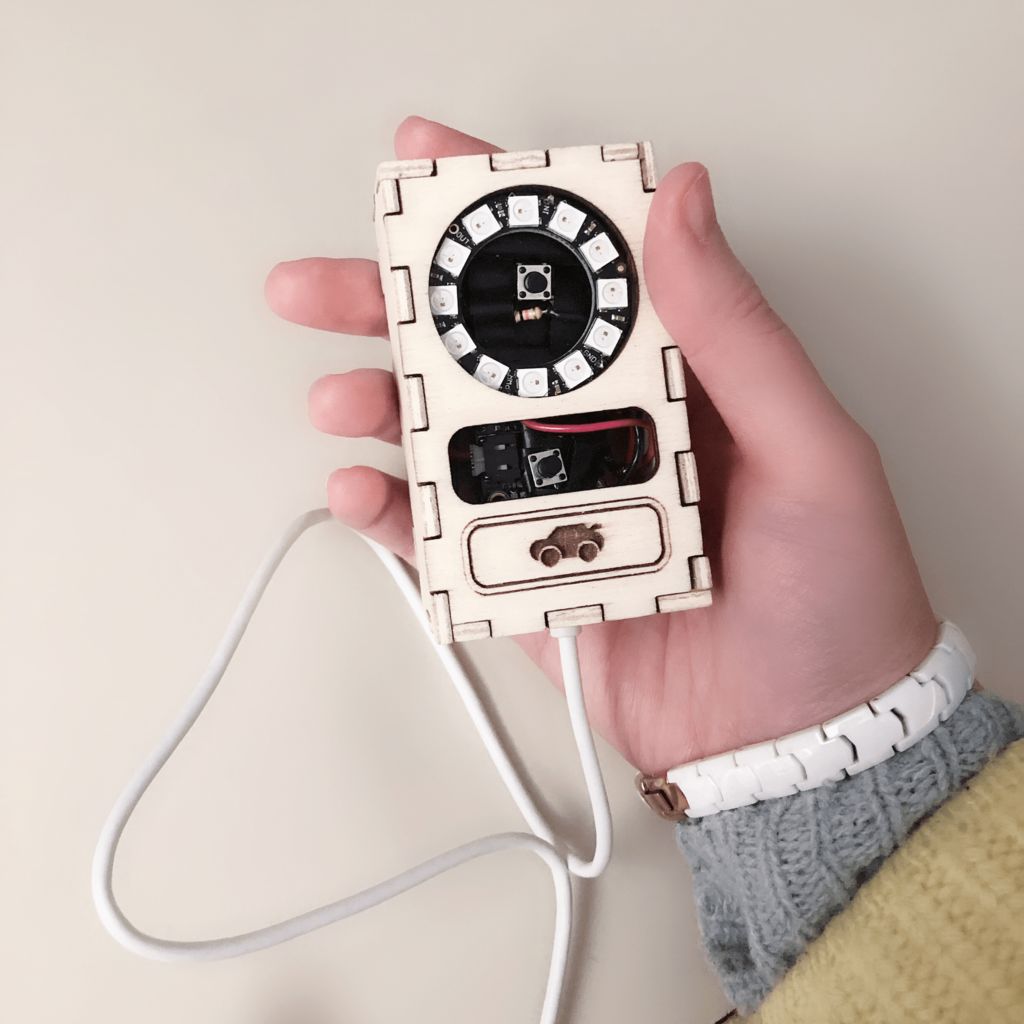
這是最初的原型。最后將一個用于插入充電器的方孔添加到其中一個部件中。
步驟11:最終裝配原型
-
gps
+關注
關注
22文章
2898瀏覽量
166333 -
汽車鑰匙
+關注
關注
1文章
24瀏覽量
11768
發布評論請先 登錄
相關推薦
蔚來或將支持蘋果錢包數字車鑰匙功能
特斯拉新版watchOS應用將Apple Watch變身數字車鑰匙
國內車規級UWB首家!數字車鑰匙海外大廠占主要份額,本土廠商自研芯片量產加速


 如何將GPS集成到車鑰匙中


評論