第1步:您需要做的事情
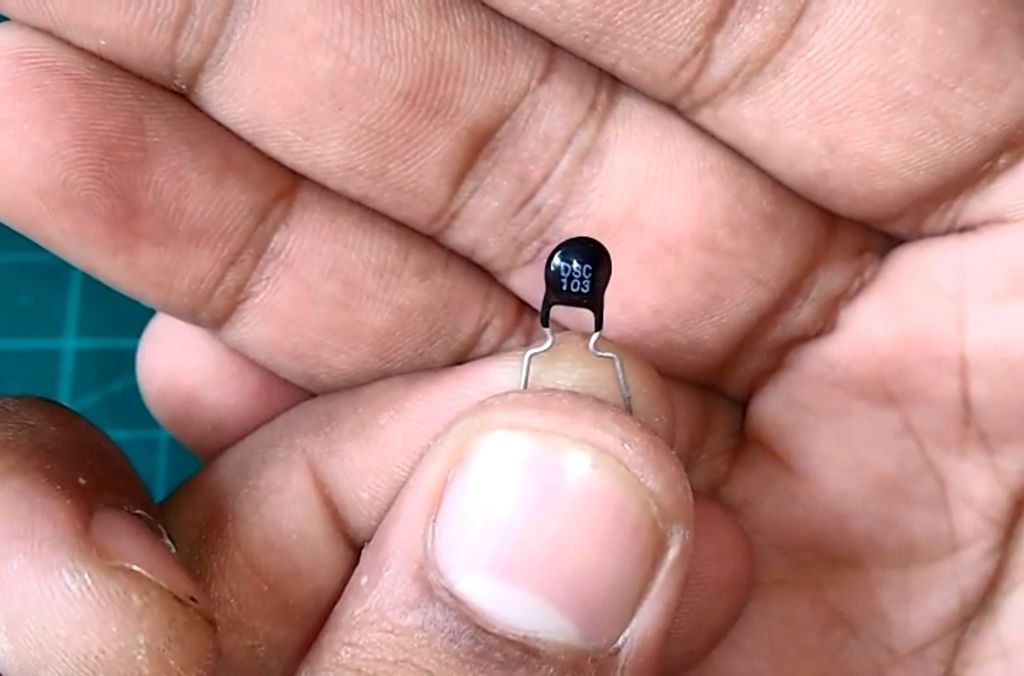
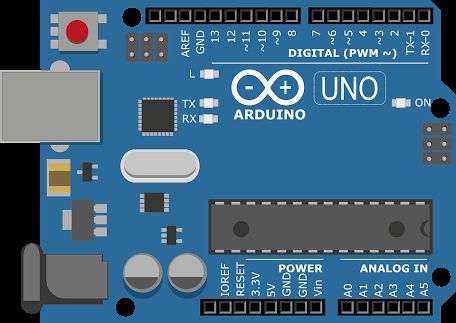
對于本教程,您將需要以下內容:
1x熱敏電阻(10k或100k:我在這里使用10k)
1個10k電阻器
1x面包板
少量跳線
第2步:Schmatics
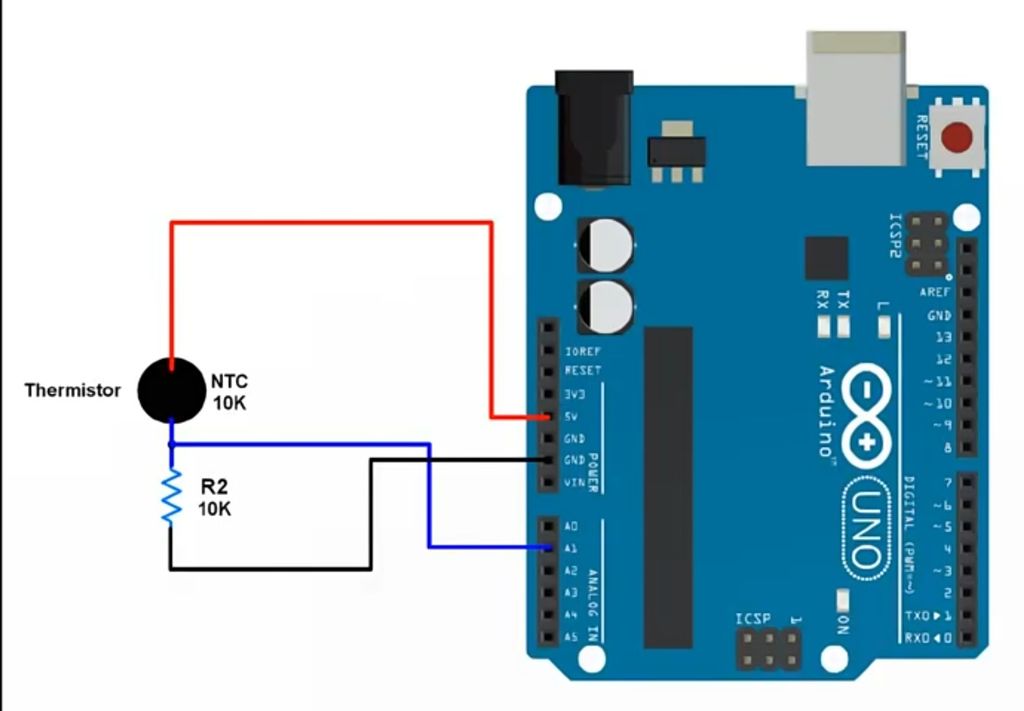
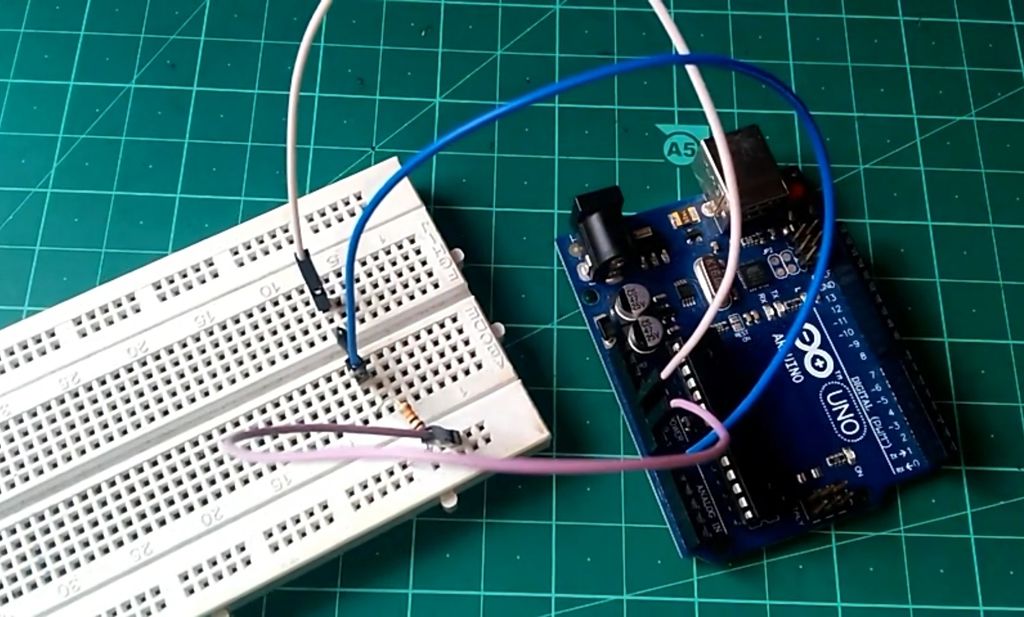
電路非常簡單,因此請根據schmatics中的顯示進行連接,一切都會好起來的。
您還可以參考我在實驗板上連接的圖像。
步驟3:代碼
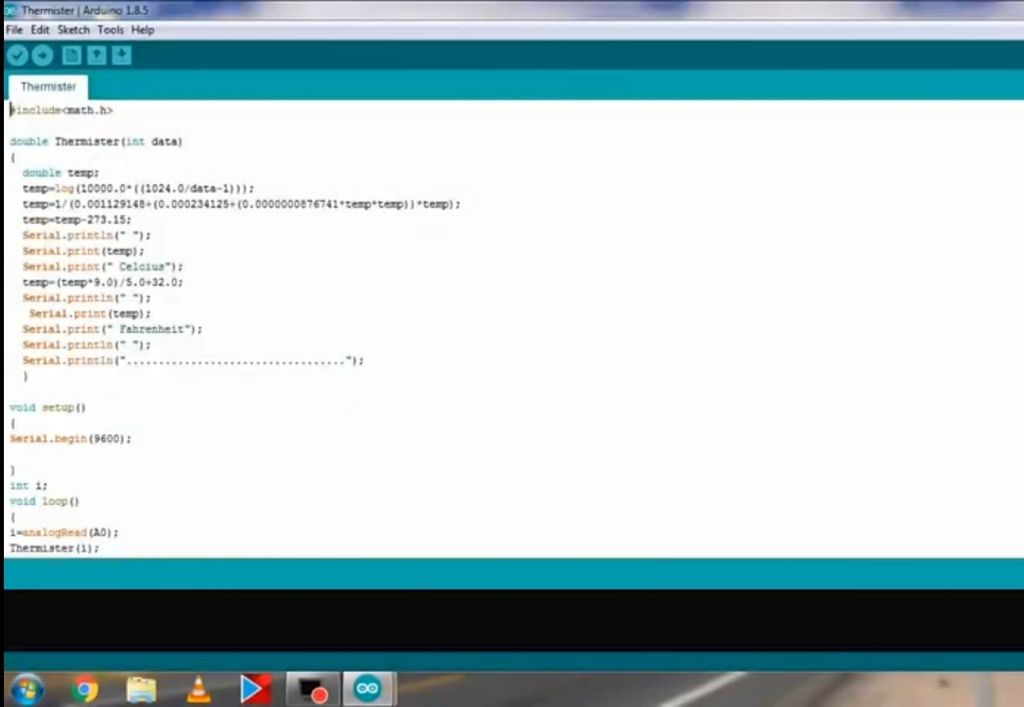
復制以下代碼并將其上傳到arduino:
#include Thermister(int data)
{
double temp;
temp = log(10000.0 *((1024.0/data-1)));
temp = 1/(0.001129148+(0.000234125+(0.0000000876741 * temp * temp))* temp);
temp = temp-273.15;
Serial.println(“”);
Serial.print (temp);
Serial.print(“ Celcius”);
temp =(temp * 9.0)/5.0+32.0;
Serial.println(“”);
Serial.print(temp );
Serial.print(“華氏度”);
Serial.println(“”);
Serial.println(“ 。..。..。..。..。..。. 。..。..。..。..。..。.“);
}
void setup()
{
Serial.begin(9600);
}
int i;
void loop()
{
Thermister(i);
delay(1000);
}
步驟4:獲取溫度在串行監視器上
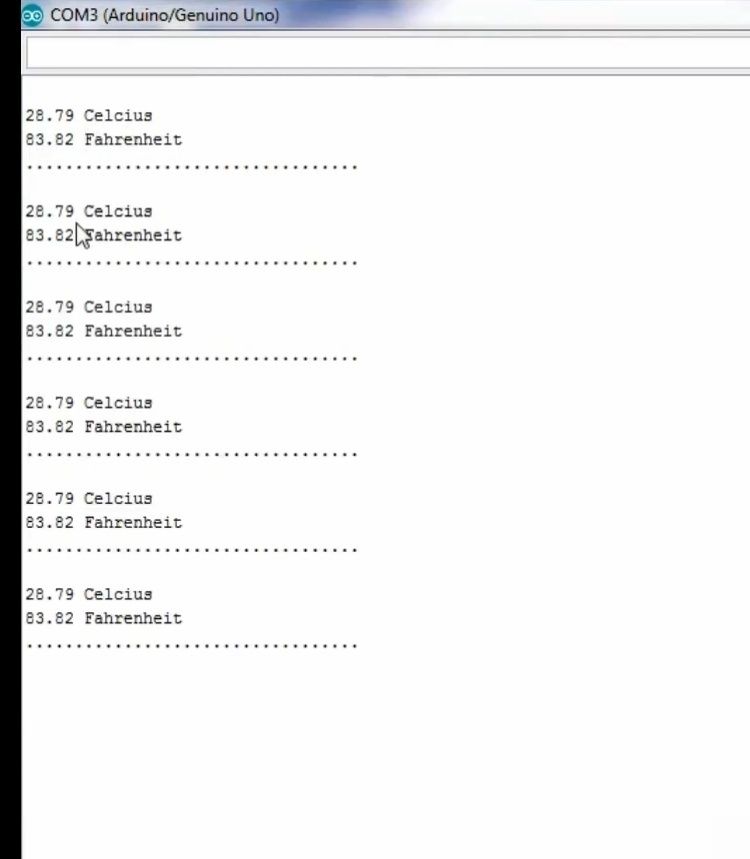
上傳代碼后,打開串行監視器,就可以在我獲得串行監視器時獲取熱敏電阻的溫度,參考提供的圖像即可會好起來的。
-
Arduino
+關注
關注
190文章
6499瀏覽量
192368
發布評論請先 登錄
如何在樹莓派上安裝并運行 Arduino 集成開發環境!
如何在Android設備上安裝Cyusb3014芯片驅動?
如何在 樹莓派 上編寫和運行 C 語言程序?

如何在iMX8MM EVK上啟用紅外接收器?
STM32開發板一般都會配置arduino接口,是不是基本上也都會支持arduino?
如何在Linux系統上設置站群服務器IP地址
如何在TMS320C6727 DSP上創建基于延遲的音頻效果

如何在TMS320DM643x器件上使用EDMA3驅動程序

如何在MSP430FR2311上使用智能模擬組合和跨阻抗放大器


評論