這是一位工程師基于硬禾學堂"暑期一起練"的ESP32-S2平臺實現的網絡收音機、FM收音機的功能,項目開源在電子森林的項目頁面(點擊左下角的“閱讀原文”)。
以下是該項目的內容
實現的基本功能:
-
可以通過WiFi接收網絡上的電臺,也可以通過FM模塊接收空中的電臺,并可以通過按鍵進行切換、選臺
-
系統能夠自動校時,開機后自動調節到準確的時間(年、月、日、時、分、秒)
項目環境:
-
Arduino v1.8.16: 一款便捷靈活、方便上手的開源電子原型平臺
-
VS code v1.60.0: 微軟開發的跨平臺源代碼編輯器
-
Vscode-Arduino: VScode開發Arduino的插件
-
arduino-esp32 v2.0.0: ESP32平臺的Arduino開發庫
-
u8g2: Arduino使用I2C或SPI控制屏幕的庫
-
RDA5807: Arduino使用I2C控制收音機模塊的庫
硬件:
一. 如何使用
1. 使用編譯好的二進制程序
-
下載編譯好的二進制程序:eetree.ino.esp32s2.bin
-
安裝CH340串口驅動
-
使用Arduino將二進制程序上傳到開發開發板上
2. 使用源碼編譯燒錄
二. 運行現象
-
開機是會進入顯示John Radio的Logo頁面
-
開機后會總有有三個頁面時間顯示, FM收音機, 網絡收音機, 通過按鍵1可以進行切換
-
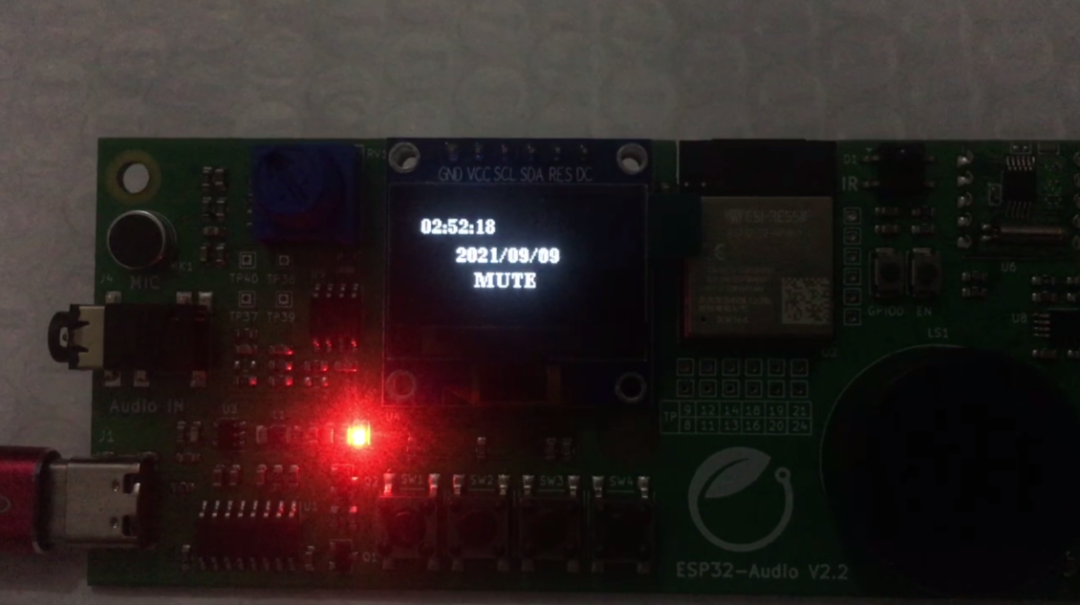
進入到時間顯示頁面: 會顯示和服務器校對好的時間
-
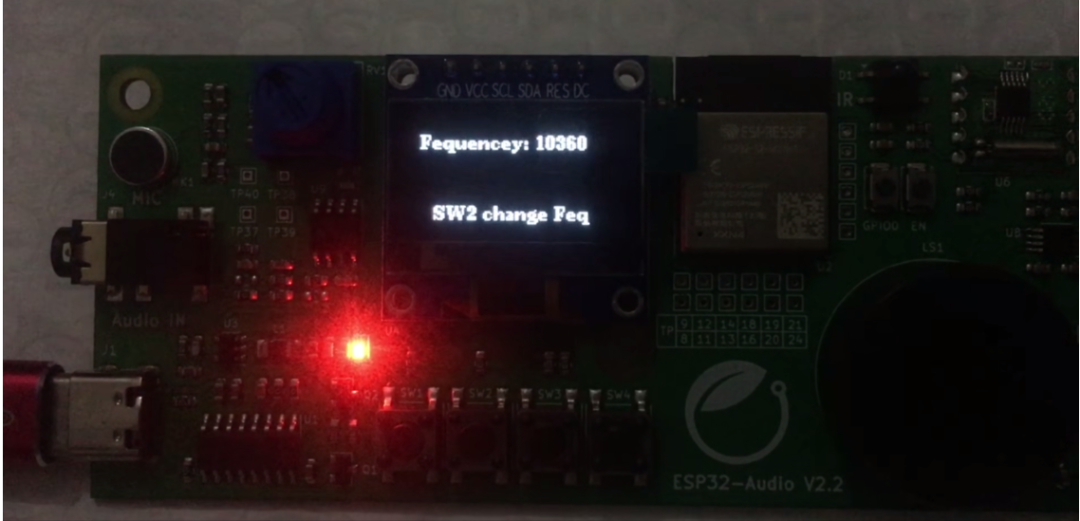
進入到FM收音機的頁面: 會顯示當前的收音機頻率, 通過點擊按鍵2可以切換不同的頻率
-
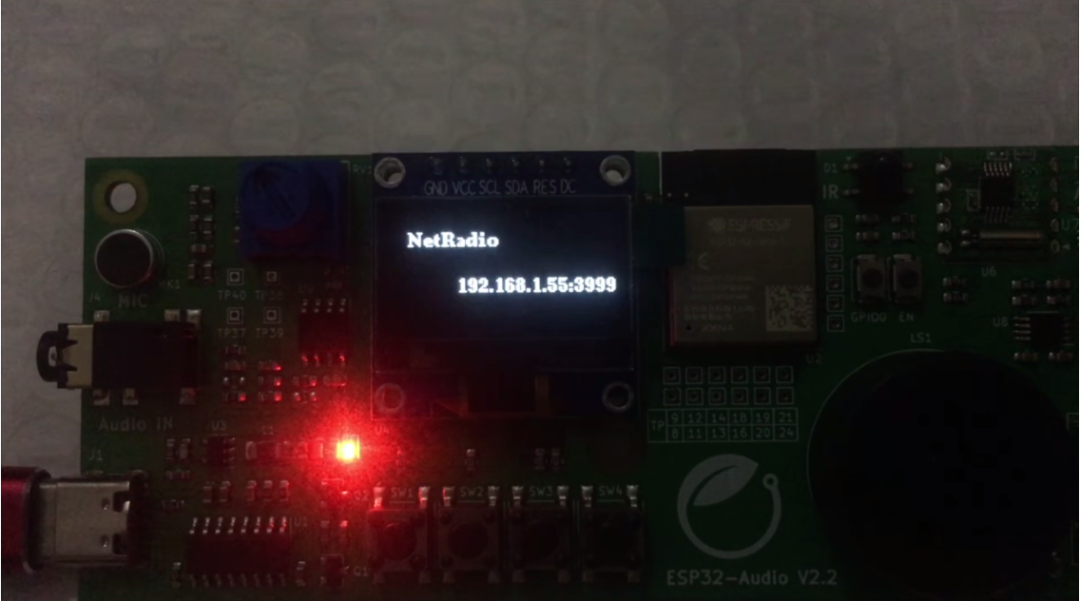
進入到網絡收音機的頁面, 會顯示當前連接的網絡收音機IP及端口
1. 編譯日志
項目使用了 722978 字節,占用了 (55%) 程序存儲空間。最大為 1310720 字節。
全局變量使用了37348字節,(11%)的動態內存,余留290332字節局部變量。最大為327680字節。
esptool.py v3.1
Serial port /dev/ttyUSB0
Connecting....
Chip is ESP32-S2FH32
Features: WiFi, Embedded 4MB Flash, 105C temp rating, ADC and temperature sensor calibration in BLK2 of efuse
Crystal is 40MHz
MAC: 7c:df:a1:97:44:da
Uploading stub...
Running stub...
Stub running...
Changing baud rate to 460800
Changed.
Configuring flash size...
Auto-detected Flash size: 4MB
Flash will be erased from 0x0000e000 to 0x0000ffff...
Flash will be erased from 0x00001000 to 0x00004fff...
Flash will be erased from 0x00010000 to 0x000c0fff...
Flash will be erased from 0x00008000 to 0x00008fff...
Compressed 8192 bytes to 47...
Writing at 0x0000e000... (100 %)
Wrote 8192 bytes (47 compressed) at 0x0000e000 in 0.1 seconds (effective 755.2 kbit/s)...
Hash of data verified.
Compressed 13600 bytes to 9358...
Writing at 0x00001000... (100 %)
Wrote 13600 bytes (9358 compressed) at 0x00001000 in 0.4 seconds (effective 274.5 kbit/s)...
Hash of data verified.
Compressed 723360 bytes to 484945...
Writing at 0x00010000... (3 %)
Writing at 0x00019c43... (6 %)
...
Writing at 0x000bd11f... (100 %)
Wrote 723360 bytes (484945 compressed) at 0x00010000 in 11.4 seconds (effective 505.4 kbit/s)...
Hash of data verified.
Compressed 3072 bytes to 128...
Writing at 0x00008000... (100 %)
Wrote 3072 bytes (128 compressed) at 0x00008000 in 0.0 seconds (effective 511.0 kbit/s)...
Hash of data verified.

Leaving...
2. 運行串口日志
192.168.43.143
Search FM8710:0
Search FM8720:0
Search FM8730:1
Search FM8740:1
Good Frequency: 8760
Search FM8770:0
Search FM8780:1
Search FM8790:1
Search FM8800:1
Good Frequency: 8810
Search FM8820:0
Search FM8830:0
Good Frequency: 8860
...
Good Frequency: 10370
info: FM Radio Page
info: Net Radio Page
info: Datetime Page
3. 開發板運行情況
三. 已知BUG
-
上電時如果沒有連接wifi失敗會停留在Logo界面
-
上電時如果沒有成功連接到時間服務器上回停留在Logo界面
-
長按按鈕會出現連按的問題, 會在不同的界面里面循環跳轉
-
即使關閉了揚聲器的輸出, FM收音機依然也會在耳機中輸出
四. 筆記
1. 項目前瞻
2. 開發環境的部署
-
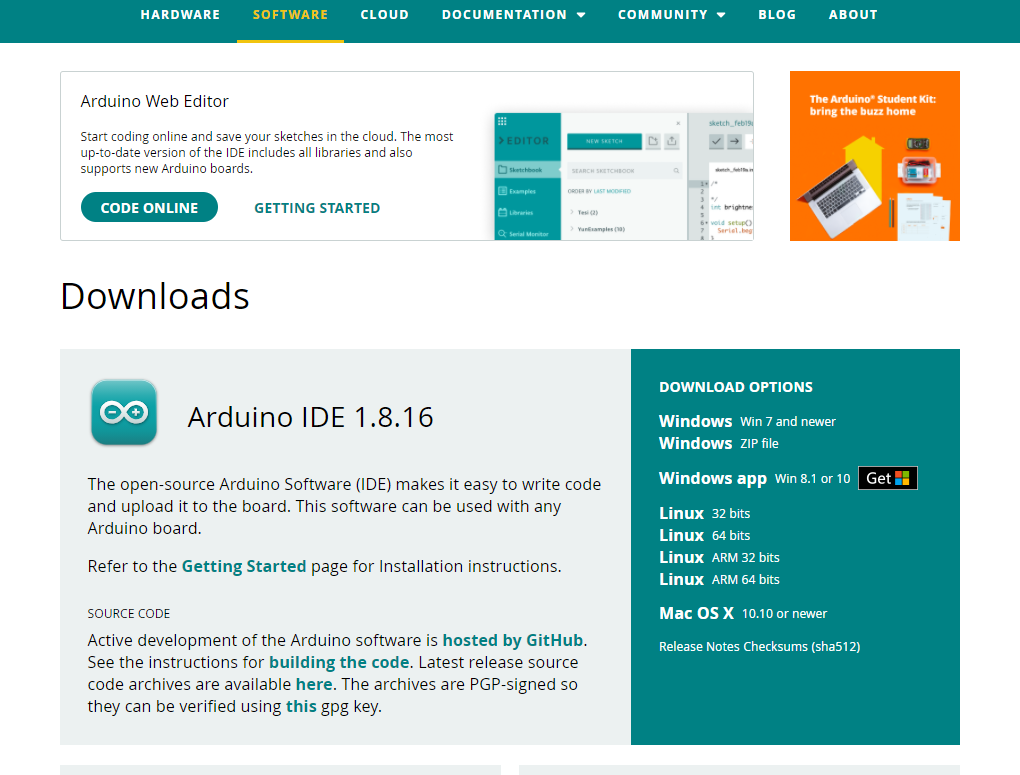
下載Arduino
https://www.arduino.cc/en/software
-
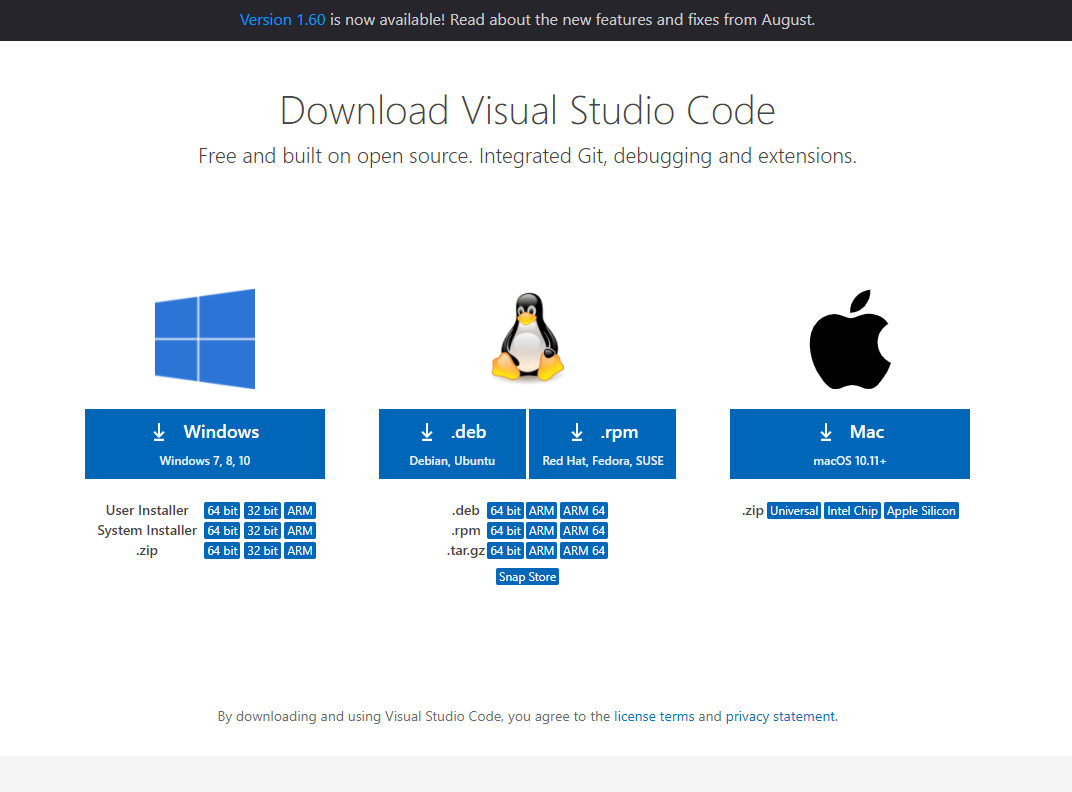
安裝VScode
https://code.visualstudio.com/download
-
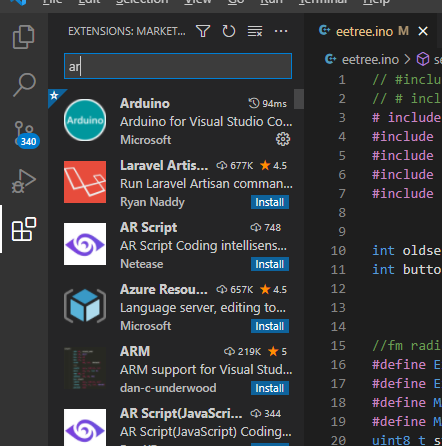
下載VS Code插件 Arduino
-
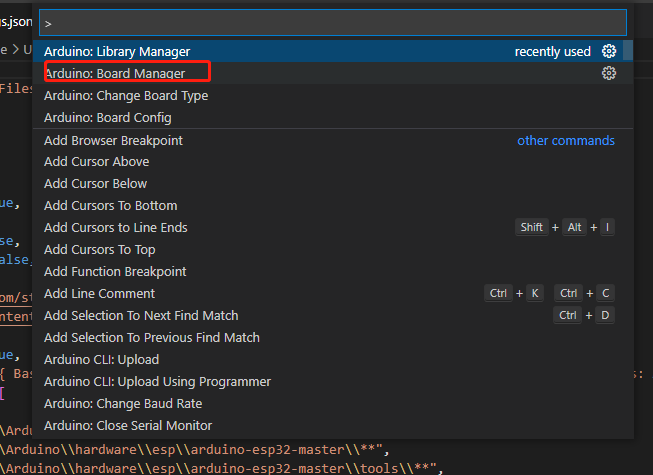
在VScode的設置中, 添加ESP32 Arduino開發板庫
{ "arduino.path": "C:\Program Files (x86)\Arduino", "arduino.ignoreBoards": [ ], "editor.insertSpaces": true, "files.autoGuessEncoding": true, "arduino.logLevel": "info", "explorer.confirmDelete": false, "editor.detectIndentation": false, "arduino.additionalUrls": [ "http://arduino.esp8266.com/stable/package_esp8266com_index.json", "https://raw.githubusercontent.com/espressif/arduino-esp32/gh-pages/package_esp32_dev_index.json" ], "editor.quickSuggestions": true, "C_Cpp.clang_format_style": "{ BasedOnStyle: LLVM, UseTab: Never, IndentWidth: 4, TabWidth: 4, BreakBeforeBraces: Attach, AllowShortIfStatementsOnASingleLine: true, IndentCaseLabels: false, ColumnLimit: 0, AccessModifierOffset: -4, NamespaceIndentation: All }", "C_Cpp.default.includePath": [ "${workspaceFolder}/**", "C:\Program Files (x86)\Arduino\lib**", "C:\Program Files (x86)\Arduino\hardware\esp\arduino-esp32-master\**", "C:\Program Files (x86)\Arduino\hardware\esp\arduino-esp32-master\tools\**", "C:\Program Files (x86)\Arduino\libraries**", "C:\Users\{yourname}\Documents\Arduino\libraries\**" ], "C_Cpp.default.intelliSenseMode": "clang-x64", "C_Cpp.intelliSenseEngine": "Tag Parser", "remote.portsAttributes": { }, } -
下載u8g2,RDA5807第三方庫
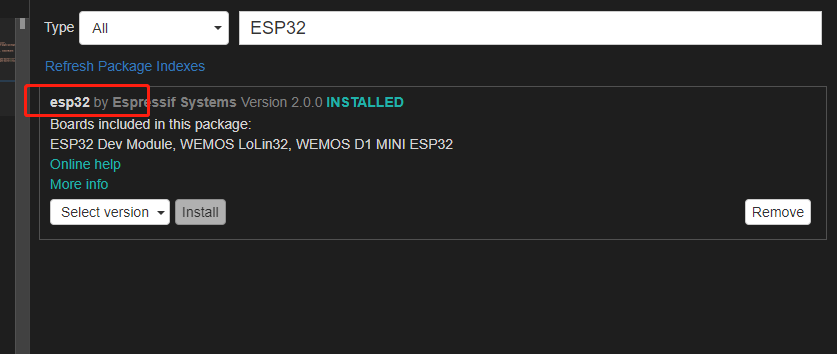
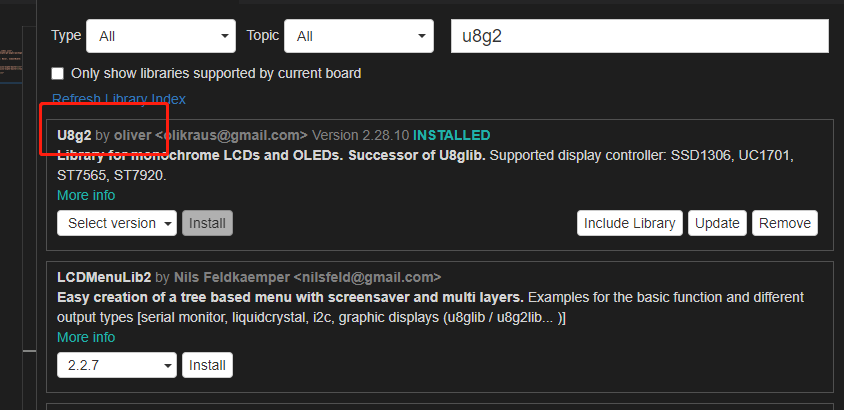
3. 開發思路
-
上電: 進行屏幕, FM, WIFI等功能的初始化
pinMode(41, OUTPUT); pinMode(42, OUTPUT); digitalWrite(41, LOW); digitalWrite(42, LOW); Serial.begin(115200); mointorInit(); displayWelcome(); Serial.println("connect wifi"); IPAddress = WifiConnecttion(); Serial.println(IPAddress.c_str()); fmInit(); searchFM(); SetFMFrequency(); configTime(gmtOffset_sec, daylightOffset_sec, ntpServer); pinMode(button1, INPUT_PULLUP); pinMode(button2, INPUT_PULLUP); pinMode(button3, INPUT_PULLUP); pinMode(button4, INPUT_PULLUP); -
循環: 監聽按鍵的輸入, 并且對用戶的輸入進行響應
num=0; displayMessage(); if (digitalRead(button1) == LOW) { delay(50); if (digitalRead(button1) == LOW) { buttonFlag = 1; } } if (digitalRead(button2) == LOW) { delay(50); if (digitalRead(button2) == LOW) { buttonFlag = 2; } } if (digitalRead(button3) == LOW) { delay(50); if (digitalRead(button3) == LOW) { buttonFlag = 3; } } if (digitalRead(button4) == LOW) { delay(50); if (digitalRead(button4) == LOW) { buttonFlag = 4; } } if (buttonFlag != 0) { FunctionUp(); delay(1000); } if (curr_sour == 2) { playMusic(); } buttonFlag = 0; -
時間校對
configTime(gmtOffset_sec, daylightOffset_sec, ntpServer);
-
WIFI連接
    WiFi.mode(WIFI_STA);
    WiFi.begin(SSID, PASSWD);
    while (WiFi.status() != WL_CONNECTED) {
        delay(400);
   }
-
FM的搜索
   uint16_t i = 0;
   uint8_t num = 0;
   rx.setFrequency(9600);
   while (i < 210) {
       delay(100);
       if (rx.isStereo() && rx.getRssi() > 20) {
           fmstation[num++] = findMaxSing(rx.getFrequency(), rx.getRssi());
           Serial.print("Good Frequency: ");
           Serial.println(rx.getFrequency());
           if (num >= MAX_STATIONS) return ;
      }
       rx.setFrequencyUp();
       i++;
       Serial.print("Search FM");
       Serial.print(rx.getFrequency());
       Serial.print(":");
       Serial.print
4. 遇到的問題Windows版本的Arduino編譯速度慢的問題
1/ 因為活動接近尾聲, 希望快點開發出項目出來, 所以選擇了Arduino作為開發工具.
高效的編輯器, 緩慢的編譯器
但是Arduino的編輯器實在是太差了, 于是使用了VScode作為編輯器. 但是用VScode編譯的二次速度比Arduino的要慢一點. 后面再網上找到了解決方案, 在工程目錄的".vscode"中設置了一個Build選項, 就可以大大提高二次編譯的編譯速度
擁抱Linux的懷抱
不過隨著時間的推移, 發現編譯的速度還是跟不上調試的速度, 因為我是做軟件的出身, 主要語言還是使用Python這樣的可以即使運行的語言, 于是想有沒有辦法再把編譯的速度提升上去呢.
之前就有了解到Linux上面的Arduino比Windows上面要快不少, 之前一直覺得在Linux上面安裝東西太麻煩了, 這次就這這個機會嘗試著安裝了一下, 其實也只是下載安裝包, 解壓, 執行安裝腳本三步, 并且通過一些SSH軟件可以直接在命令行打開編輯窗口, 十分方便.
結果編譯速度提升了80%, 之后可以繼續嘗試把VScode安裝在Linux上面, 使用純Linux進行開發
2/ VS code對ESP32的庫提示庫不存在
艱難的安裝
我的Arduino ESP32庫安裝了好多次都有問題. 主要是網絡的問題, 在下載arduino-esp32的Git hub 倉庫的時候就打不開了
后面我Clone倉庫下載解壓到安裝目錄, 造成了之后的問題
VS code的嚎叫
在Arduino中可以使用, 之后我轉戰VScode, 結果發現VScode又不能正常使用ESP32, 直接在開發板管理工具里面找不到了
最后只能刪掉庫, 在VScode的開發板管理工具里面重新安裝才可以完成
解決網絡的問題
如果網絡有問題, 可以根據命令行的提示, 在github上面找到對應的zip包, 解壓到C://user/username/Appdata/Arduino15/staging/package中, Arduino會直接使用下載好的包, 這樣就可以大大減少重新安裝的時間和避免網絡比穩定到時下載失敗的情況. 比如說可以使用一些下載工具先進行下載.
總是感覺Arduino作為編輯器還是有很多不足的地方, 比如代碼提示, 庫的安裝之類的. 以后進行開發我會優先使用Linux下的VSCode
-
收音機
+關注
關注
58文章
595瀏覽量
75981 -
工程師
+關注
關注
59文章
1571瀏覽量
68548 -
FM
+關注
關注
1文章
182瀏覽量
59197 -
WIFI
+關注
關注
81文章
5299瀏覽量
203889 -
ESP32
+關注
關注
18文章
971瀏覽量
17315
原文標題:基于ESP32-S2實現的網絡/FM兩用收音機
文章出處:【微信號:xiaojiaoyafpga,微信公眾號:電子森林】歡迎添加關注!文章轉載請注明出處。
發布評論請先 登錄
相關推薦
[建議]FM收音機集成電路
【樂鑫ESP32-DevKitC-32D模組開發板試用連載】WiFi網絡收音機
基于ESP32-S2的智能86盒
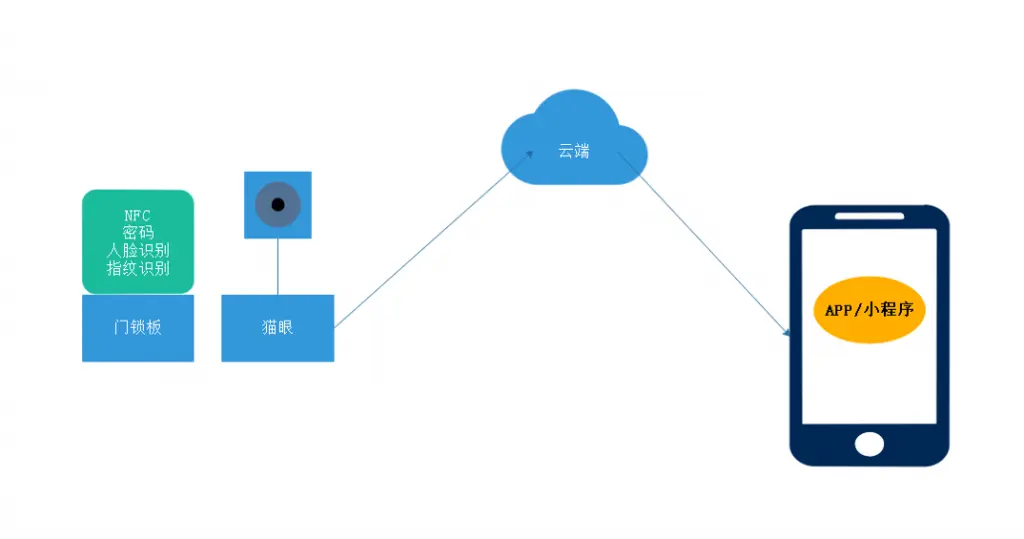
ESP32-S2攝像頭WIFI方案應用于智能貓眼
用于Sparkfun MicroMod載板的ESP32-S2處理器

使用ESP32 TTGO T Display設計網絡收音機


 ESP32-S2設計網絡/FM兩用收音機


評論