我們一說到spring,可能第一個想到的是 IOC(控制反轉) 和 AOP(面向切面編程)。
沒錯,它們是spring的基石,得益于它們的優秀設計,使得spring能夠從眾多優秀框架中脫穎而出。
除此之外,我們在使用spring的過程中,有沒有發現它的擴展能力非常強。由于這個優勢的存在,讓spring擁有強大的包容能力,讓很多第三方應用能夠輕松投入spring的懷抱。比如:rocketmq、mybatis、redis等。
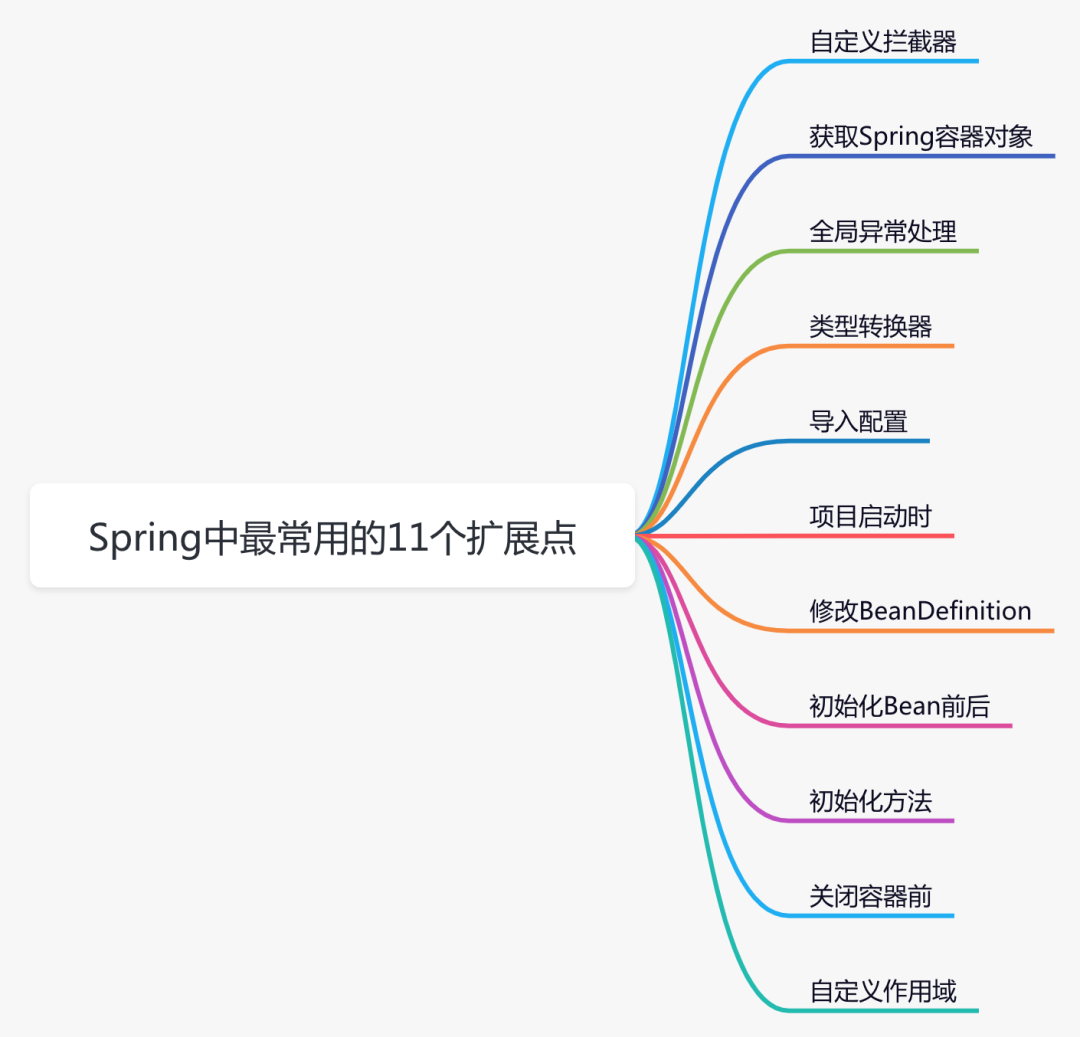
今天跟大家一起聊聊,在Spring中最常用的11個擴展點。
1.自定義攔截器
spring mvc攔截器根spring攔截器相比,它里面能夠獲取HttpServletRequest和HttpServletResponse等web對象實例。
spring mvc攔截器的頂層接口是:HandlerInterceptor,包含三個方法:
- preHandle 目標方法執行前執行
- postHandle 目標方法執行后執行
- afterCompletion 請求完成時執行
為了方便我們一般情況會用HandlerInterceptor接口的實現類HandlerInterceptorAdapter類。
假如有權限認證、日志、統計的場景,可以使用該攔截器。
第一步,繼承HandlerInterceptorAdapter類定義攔截器:
public class AuthInterceptor extends HandlerInterceptorAdapter {

    @Override
    public boolean preHandle(HttpServletRequest request, HttpServletResponse response, Object handler)
            throws Exception {
        String requestUrl = request.getRequestURI();
        if (checkAuth(requestUrl)) {
            return true;
        }

        return false;
    }

    private boolean checkAuth(String requestUrl) {
        System.out.println("===權限校驗===");
        return true;
    }
}
第二步,將該攔截器注冊到spring容器:
@Configuration
public class WebAuthConfig extends WebMvcConfigurerAdapter {

    @Bean
    public AuthInterceptor getAuthInterceptor() {
        return new AuthInterceptor();
    }

    @Override
    public void addInterceptors(InterceptorRegistry registry) {
        registry.addInterceptor(new AuthInterceptor());
    }
}
第三步,在請求接口時spring mvc通過該攔截器,能夠自動攔截該接口,并且校驗權限。
2.獲取Spring容器對象
在我們日常開發中,經常需要從Spring容器中獲取Bean,但你知道如何獲取Spring容器對象嗎?
2.1 BeanFactoryAware接口
@Service
public class PersonService implements BeanFactoryAware {
    private BeanFactory beanFactory;

    @Override
    public void setBeanFactory(BeanFactory beanFactory) throws BeansException {
        this.beanFactory = beanFactory;
    }

    public void add() {
        Person person = (Person) beanFactory.getBean("person");
    }
}
實現BeanFactoryAware接口,然后重寫setBeanFactory方法,就能從該方法中獲取到spring容器對象。
2.2 ApplicationContextAware接口
@Service
public class PersonService2 implements ApplicationContextAware {
    private ApplicationContext applicationContext;

    @Override
    public void setApplicationContext(ApplicationContext applicationContext) throws BeansException {
        this.applicationContext = applicationContext;
    }

    public void add() {
        Person person = (Person) applicationContext.getBean("person");
    }
}
實現ApplicationContextAware接口,然后重寫setApplicationContext方法,也能從該方法中獲取到spring容器對象。
2.3 ApplicationListener接口
@Service
public class PersonService3 implements ApplicationListener<ContextRefreshedEvent> {
    private ApplicationContext applicationContext;
    @Override
    public void onApplicationEvent(ContextRefreshedEvent event) {
        applicationContext = event.getApplicationContext();
    }

    public void add() {
        Person person = (Person) applicationContext.getBean("person");
    }
}
3.全局異常處理
以前我們在開發接口時,如果出現異常,為了給用戶一個更友好的提示,例如:
@RequestMapping("/test")
@RestController
public class TestController {

    @GetMapping("/add")
    public String add() {
        int a = 10 / 0;
        return "成功";
    }
}
如果不做任何處理請求add接口結果直接報錯:

what?用戶能直接看到錯誤信息?
這種交互方式給用戶的體驗非常差,為了解決這個問題,我們通常會在接口中捕獲異常:
@GetMapping("/add")
public String add() {
    String result = "成功";
    try {
        int a = 10 / 0;
    } catch (Exception e) {
        result = "數據異常";
    }
    return result;
}
接口改造后,出現異常時會提示:“數據異常”,對用戶來說更友好。
看起來挺不錯的,但是有問題。。。
如果只是一個接口還好,但是如果項目中有成百上千個接口,都要加上異常捕獲代碼嗎?
答案是否定的,這時全局異常處理就派上用場了:RestControllerAdvice。
@RestControllerAdvice
public class GlobalExceptionHandler {

    @ExceptionHandler(Exception.class)
    public String handleException(Exception e) {
        if (e instanceof ArithmeticException) {
            return "數據異常";
        }
        if (e instanceof Exception) {
            return "服務器內部異常";
        }
        retur nnull;
    }
}
只需在handleException方法中處理異常情況,業務接口中可以放心使用,不再需要捕獲異常(有人統一處理了)。真是爽歪歪。
-
spring
+關注
關注
0文章
340瀏覽量
14338 -
AOP
+關注
關注
0文章
40瀏覽量
11098 -
IOC
+關注
關注
0文章
28瀏覽量
10099
發布評論請先 登錄
相關推薦
Spring框架的設計理念
單片機系統中最常用的三種通信協議
開關電源中最常用的電阻有哪些呢
單片機系統中最常用的通信協議有幾種
EMC問題中最常用的手段RC濾波詳細資料說明

Spring中最常用的11個擴展點
剖析Spring中最常用的擴展點(中)


 剖析Spring中最常用的擴展點(上)


評論