環境搭建
Author: HonestQiao 喬幫主的docker環境適用于套件使用,具體參考網址:https://blog.51cto.com/harmonyos/5223948
VSCode連接到container中進行開發
安裝remote – container插件:
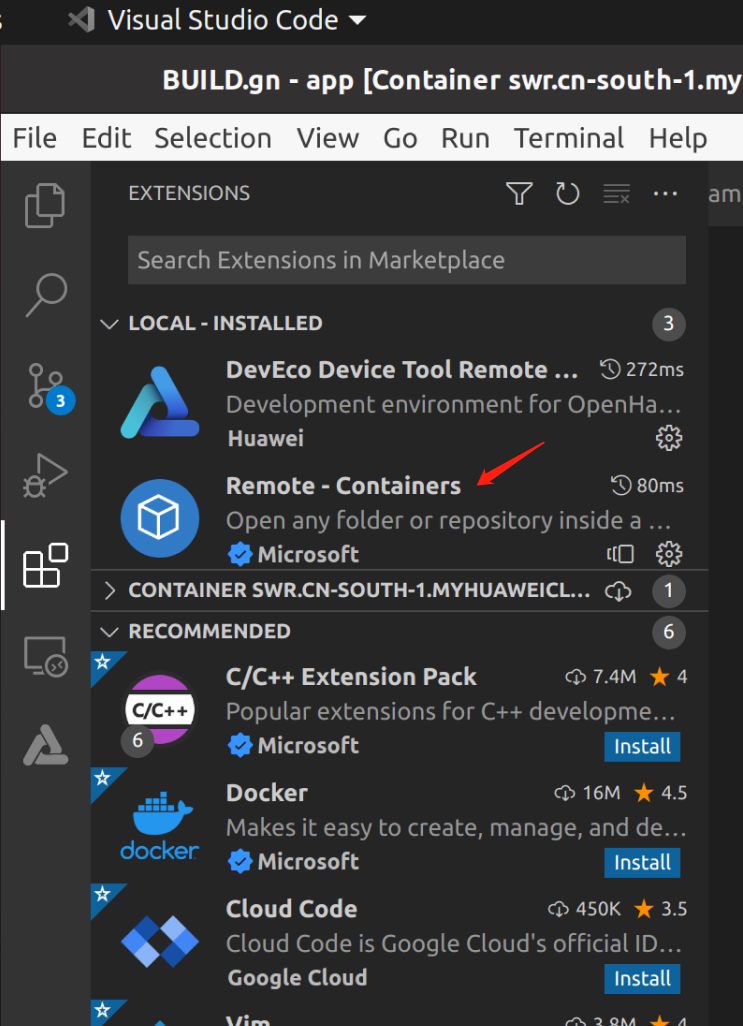
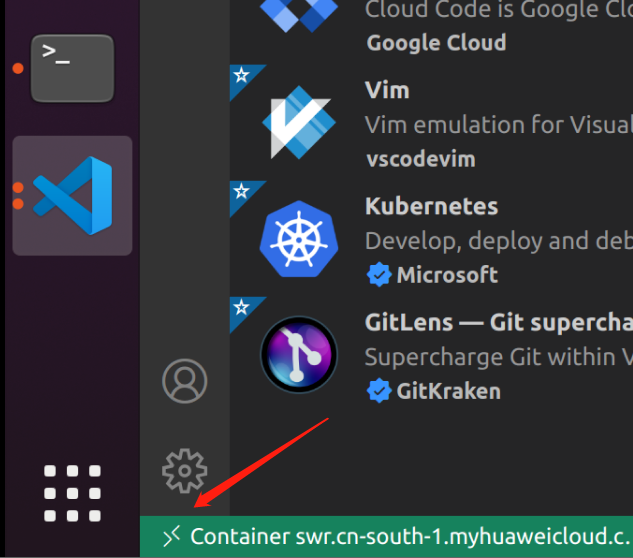
安裝完成后,在VSCode的左下角出現一個綠色的按鈕。
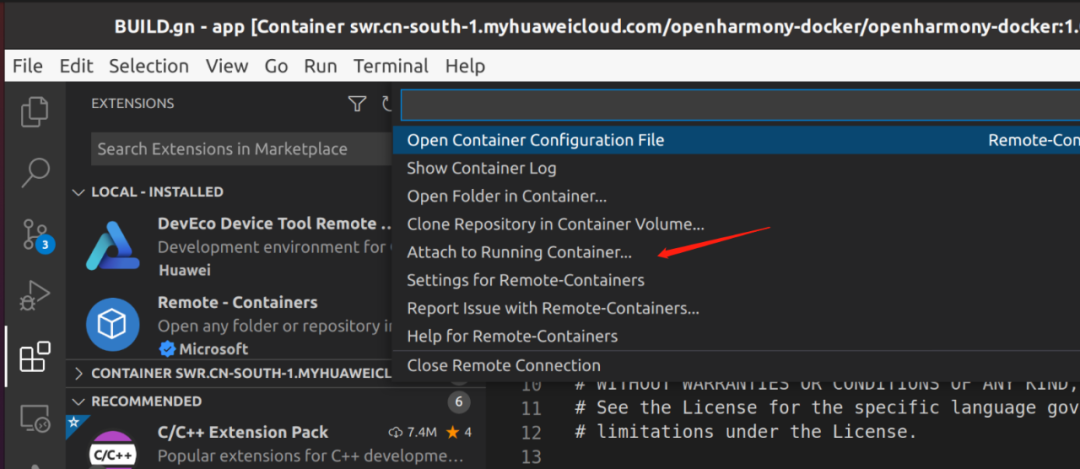
連接到container中點擊attach to Running Container…
Attach到container以后,可以看到內部的文件系統:
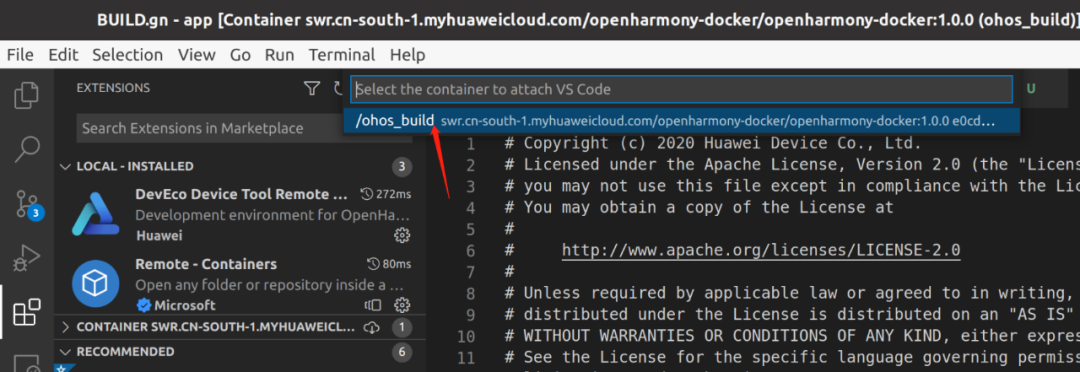
這樣就能正常開發了
創建HelloWorld
用VScoder打開路徑:
/home/dist/OpenHarmony-v3.1-Release/applications/sample/wifi-iot/app
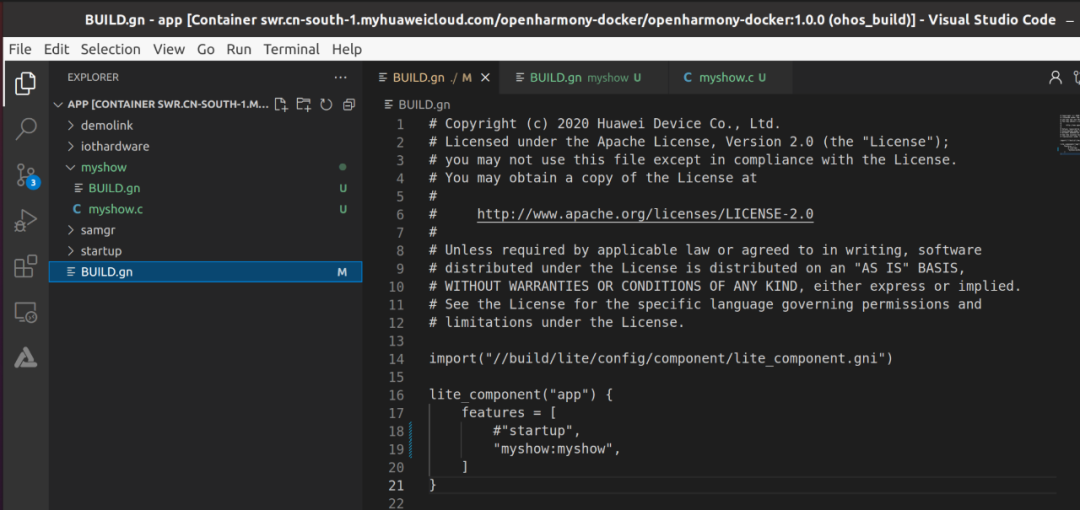
/app/BUILD.gn
import("http://build/lite/config/component/lite_component.gni")
lite_component("app") { features = [ #"startup", "myshow:myshow", ]}
./app創建文件夾myshow,并建兩個文件BUILD.gn 和 myshow.c
BUILD.gn
static_library("myshow") { sources = [ "myshow.c" ]
include_dirs = [ "http://utils/native/lite/include", "http://kernel/liteos_m/kal/cmsis", "http://base/iot_hardware/peripheral/interfaces/kits", ]}
myshow.c
#include
#include
#include "ohos_init.h"#include "cmsis_os2.h"#include "iot_gpio.h"
void mymain(void){ printf("[DEMO] Hello world.\n");}
SYS_RUN(mymain);
使用 hb set 選擇 wifiiot_hispark_pegasus
使用 hb build -f 生成bin
生成文件路徑:/home/dist/OpenHarmony-v3.1-Release/out/hispark_pegasus/wifiiot_hispark_pegasus

使用HiBurn.exe燒錄
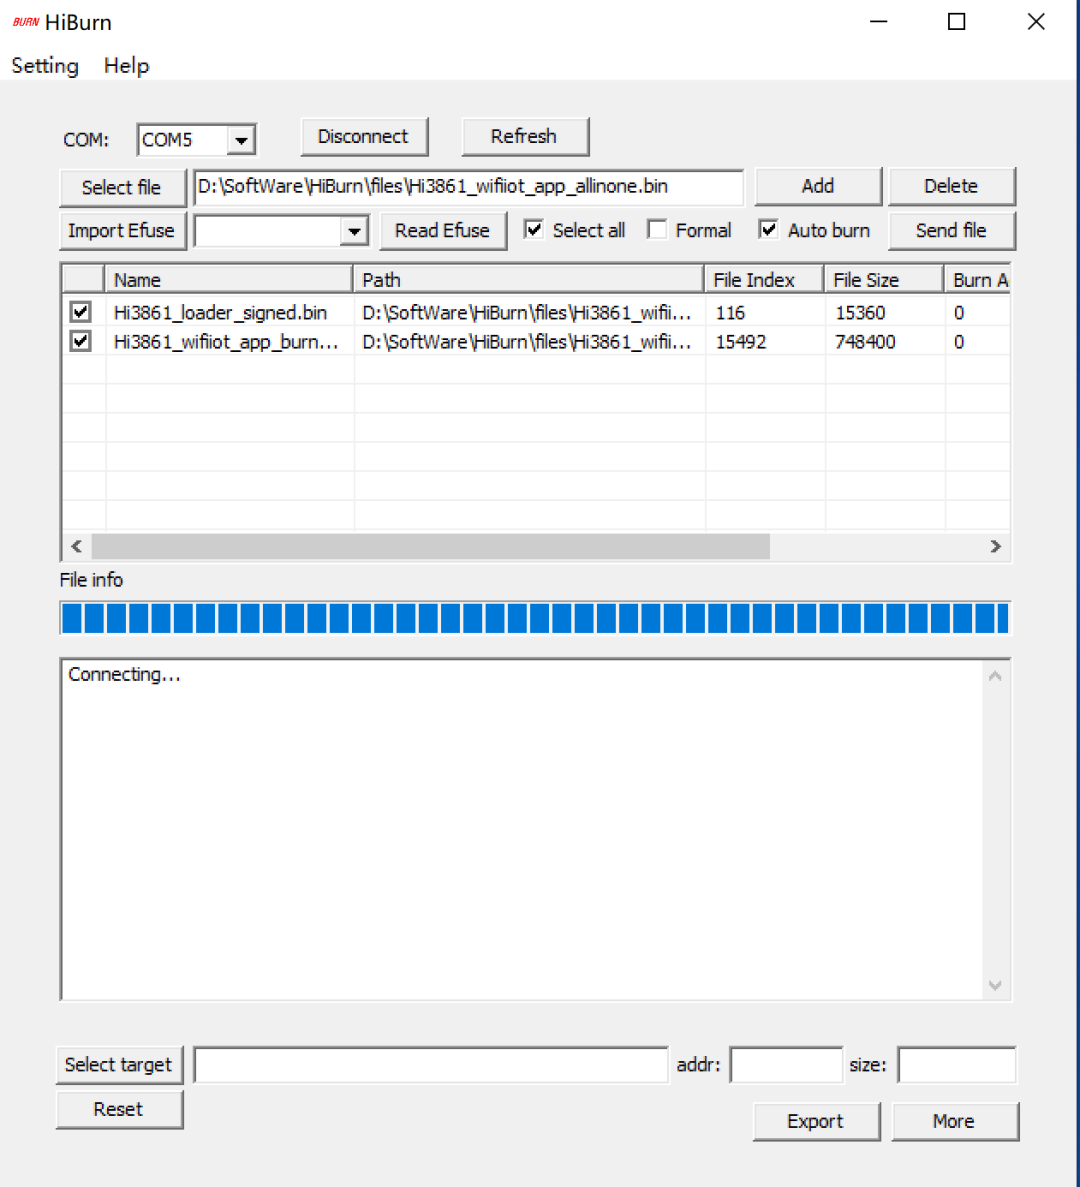
串口驗證
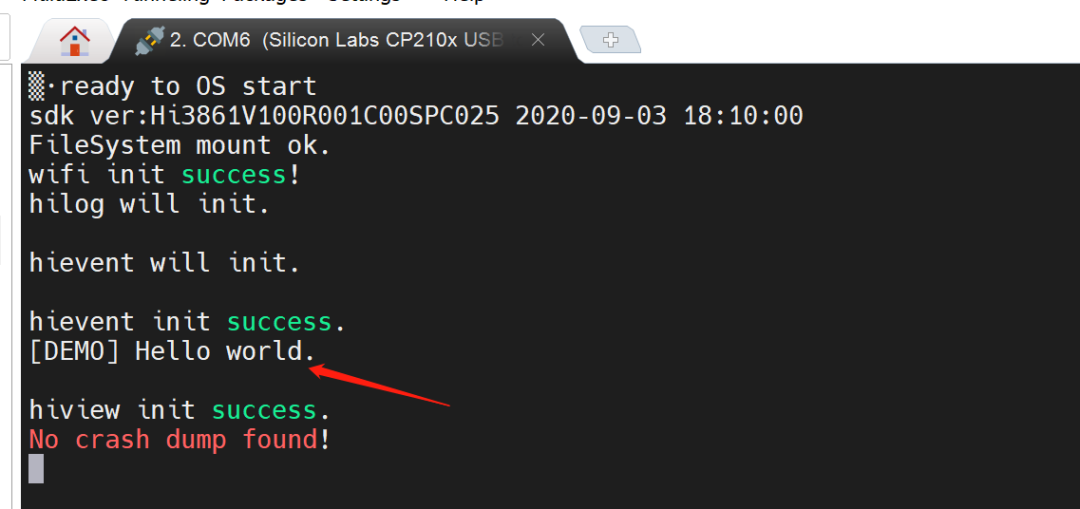
至此可以愉快的進行開發了。
-
IOT
+關注
關注
187文章
4226瀏覽量
197266
發布評論請先 登錄
相關推薦
Wi-Fi 8要來了!未來Wi-Fi技術演進方向揭秘

華為海思正式進入Wi-Fi FEM賽道?
摩爾斯微電子發布Wi-Fi HaLow評估套件,加速物聯網開發
從Wi-Fi 4到Wi-Fi 7:網速飆升40倍的無線革命

Wi-Fi 7與Wi-Fi 6E有什么區別
DA16600 超低功耗 Wi-Fi + 藍牙低功耗模塊開發套件數據手冊
DA16200 超低功耗 Wi-Fi 模塊開發套件 Pro數據手冊
DA16200 超低功耗 Wi-Fi 模塊開發套件數據手冊
AIROC? Wi-Fi和藍牙組合連接掉線的原因?怎么解決?
驗證物聯網Wi-Fi HaLow用例的MM6108-EKH08開發套件來啦
Wi-Fi的誕生與發展



 【開源應用】HiSpark Wi-Fi IoT套件試用筆記:Hello程序開發體驗


評論