這里介紹了 RTT 常見(jiàn)的幾個(gè) bsp 的調(diào)試方法,其他的都是類(lèi)似的形式,照著寫(xiě)即可
前置條件
軟件環(huán)境
vscode
vscode Cortex Debug 插件
選擇性下載的軟件
gdb-multiarch
gcc-arm-none-eabi
pyocd
openocd
launch.json 配置文件
這里先貼一下配置文件,給那些只需要配置文件的小伙伴準(zhǔn)備的
{
"version": "0.2.0",
"configurations": [
{
"name": "qemu-vexpress-a9",
"type": "cppdbg",
"request": "launch",
"program": "${workspaceRoot}/bsp/qemu-vexpress-a9/rtthread.elf",
"args": [],
"stopAtEntry": true,
"cwd": "${workspaceRoot}/bsp/qemu-vexpress-a9",
"environment": [],
"externalConsole": true,
"miDebuggerServerAddress": "localhost:1234",
"serverLaunchTimeout": 2000,
"targetArchitecture": "ARM",
"MIMode": "gdb",
"miDebuggerPath": "gdb-multiarch",
"setupCommands": [
{
"text": "set backtrace limit 16"
}
],
"customLaunchSetupCommands": [],
"launchCompleteCommand": "exec-run",
},
{
"name": "qemu-virt64-riscv",
"type": "cppdbg",
"request": "launch",
"program": "${workspaceRoot}/bsp/qemu-virt64-riscv/rtthread.elf",
"args": [],
"stopAtEntry": true,
"cwd": "${workspaceRoot}/bsp/qemu-virt64-riscv",
"environment": [],
"externalConsole": true,
"miDebuggerServerAddress": "localhost:1234",
"serverLaunchTimeout": 2000,
"targetArchitecture": "ARM",
"MIMode": "gdb",
"miDebuggerPath": "gdb-multiarch",
"setupCommands": [
{
"text": "set backtrace limit 16"
}
],
"customLaunchSetupCommands": [],
"launchCompleteCommand": "exec-run",
},
{
"name": "qemu-virt64-aarch64",
"type": "cppdbg",
"request": "launch",
"program": "${workspaceRoot}/bsp/qemu-virt64-aarch64/rtthread.elf",
"args": [],
"stopAtEntry": true,
"cwd": "${workspaceRoot}/bsp/qemu-virt64-aarch64",
"environment": [],
"externalConsole": true,
"miDebuggerServerAddress": "localhost:1234",
"serverLaunchTimeout": 2000,
"targetArchitecture": "ARM",
"MIMode": "gdb",
"miDebuggerPath": "gdb-multiarch",
"setupCommands": [
{
"text": "set backtrace limit 16"
}
],
"customLaunchSetupCommands": [],
"launchCompleteCommand": "exec-run",
},
{
"name": "rt-spark-pyocd",
"cwd": "/opt/rt-thread/tools/pyocd/bin/",
"executable": "${workspaceRoot}/bsp/stm32/stm32f407-rt-spark/rt-thread.elf",
"request": "launch",
"type": "cortex-debug",
"runToEntryPoint": "main",
"targetId": "STM32F407ZG",
"servertype": "pyocd",
"serverpath": "/opt/rt-thread/tools/pyocd/bin/pyocd",
"armToolchainPath": "/opt/rt-thread/tools/gnu_gcc/gcc-arm-none-eabi/bin/",
"gdbPath": "/opt/rt-thread/tools/gnu_gcc/gcc-arm-none-eabi/bin/arm-none-eabi-gdb",
},
{
"name": "rt-spark-openocd",
"executable": "${workspaceRoot}/bsp/stm32/stm32f407-rt-spark/rt-thread.elf",
"request": "launch",
"type": "cortex-debug",
"runToEntryPoint": "main",
"targetId": "STM32F407ZG",
"servertype": "openocd",
"configFiles": [
"interface/stlink-v2.cfg",
"target/stm32f4x.cfg"
],
"armToolchainPath": "/opt/rt-thread/tools/gnu_gcc/gcc-arm-none-eabi/bin/",
"gdbPath": "/opt/rt-thread/tools/gnu_gcc/gcc-arm-none-eabi/bin/arm-none-eabi-gdb",
},
{
"name": "hmi-board-pyocd",
"cwd": "/opt/pyocd/bin/",
"executable": "${workspaceRoot}/bsp/renesas/ra6m3-hmi-board/rtthread.elf",
"request": "launch",
"type": "cortex-debug",
"runToEntryPoint": "main",
"targetId": "R7FA6M3AH",
"servertype": "pyocd",
"serverpath": "/opt/pyocd/bin/pyocd",
"armToolchainPath": "/opt/rt-thread/tools/gnu_gcc/gcc-arm-none-eabi/bin/",
"gdbPath": "/opt/rt-thread/tools/gnu_gcc/gcc-arm-none-eabi/bin/arm-none-eabi-gdb",
}
]
}
launch.json 配置文件注意事項(xiàng)
這里是以 rt-thread 源碼為路徑的,如果不對(duì)應(yīng)的話請(qǐng)修改 launch.json 文件中的 executable 值 ,其中 ${workspaceRoot} 表示的是 vscode 工程的路徑
除了 qemu 相關(guān)外,其他的 name 值都是使用的開(kāi)發(fā)版名稱(chēng)加調(diào)試類(lèi)型(這里沒(méi)特殊要求,個(gè)人習(xí)慣而已,方便調(diào)試開(kāi)發(fā)板時(shí)選擇特定的工程及調(diào)試工具)
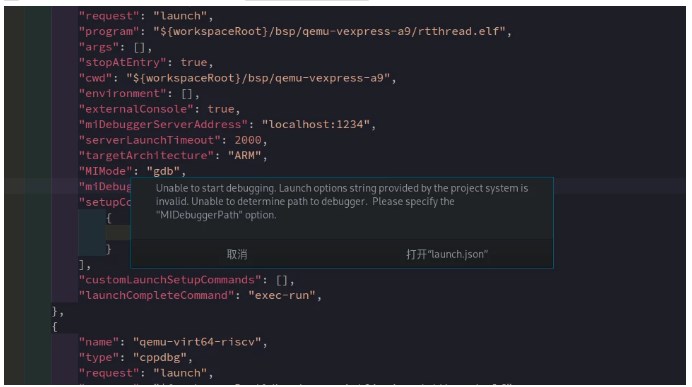
調(diào)試 qemu 時(shí)記得安裝 gdb-multiarch 工具(archlinux 推薦使用 aur 工具輸入 yay -S gdb-multiarch),如果安裝了之后還有以下錯(cuò)誤,miDebuggerPath 值請(qǐng)使用全路徑

使用 openocd 調(diào)試時(shí)請(qǐng)安裝 openocd 工具(archlinux 推薦使用 aur 工具輸入 yay -S openocd)
使用 pyocd 調(diào)試時(shí)請(qǐng)安裝 pyocd 工具(archlinux 推薦使用 aur 工具輸入 yay -S rt-pyocd-git)(目前無(wú)法一條命令配置成功,并且有自己更改的部分,非 archlinux 用戶不建議使用,硬要使用也可以下面有具體教程)
使用 gcc-arm-none-eabi 調(diào)試時(shí)請(qǐng)安裝 gcc-arm-none-eabi 工具(archlinux 推薦使用 aur 工具輸入 yay -S rt-gcc-arm-none-eabi)非 archlinux 用戶請(qǐng)修改 armToolchainPath 和 gdbPath 到 gcc-arm-none-eabi 對(duì)應(yīng)路徑,archlinux 用戶不用修改路徑即可正常使用
pyocd 安裝
Windows
安裝之后請(qǐng)修改 launch.json 中的 cwd 和 serverpath 值
linux
git clone https://github.com/RT-Thread-Studio/sdk-debugger-pyocd.git
python -m venv /opt/pyocd
/opt/pyocd/bin/pip install pyocd
cp -r sdk-debugger-pyocd/packs /opt/pyocd/bin
rm -rf sdk-debugger-pyocd
cd /opt/pyocd/bin/packs && python ./update_yaml.py
cd -
其中 launch.json 中的 cwd 值表示當(dāng)前的運(yùn)行路徑,把這個(gè)設(shè)置到 /opt/pyocd/bin 是為了讓 pyocd 找到 pack 包
調(diào)試
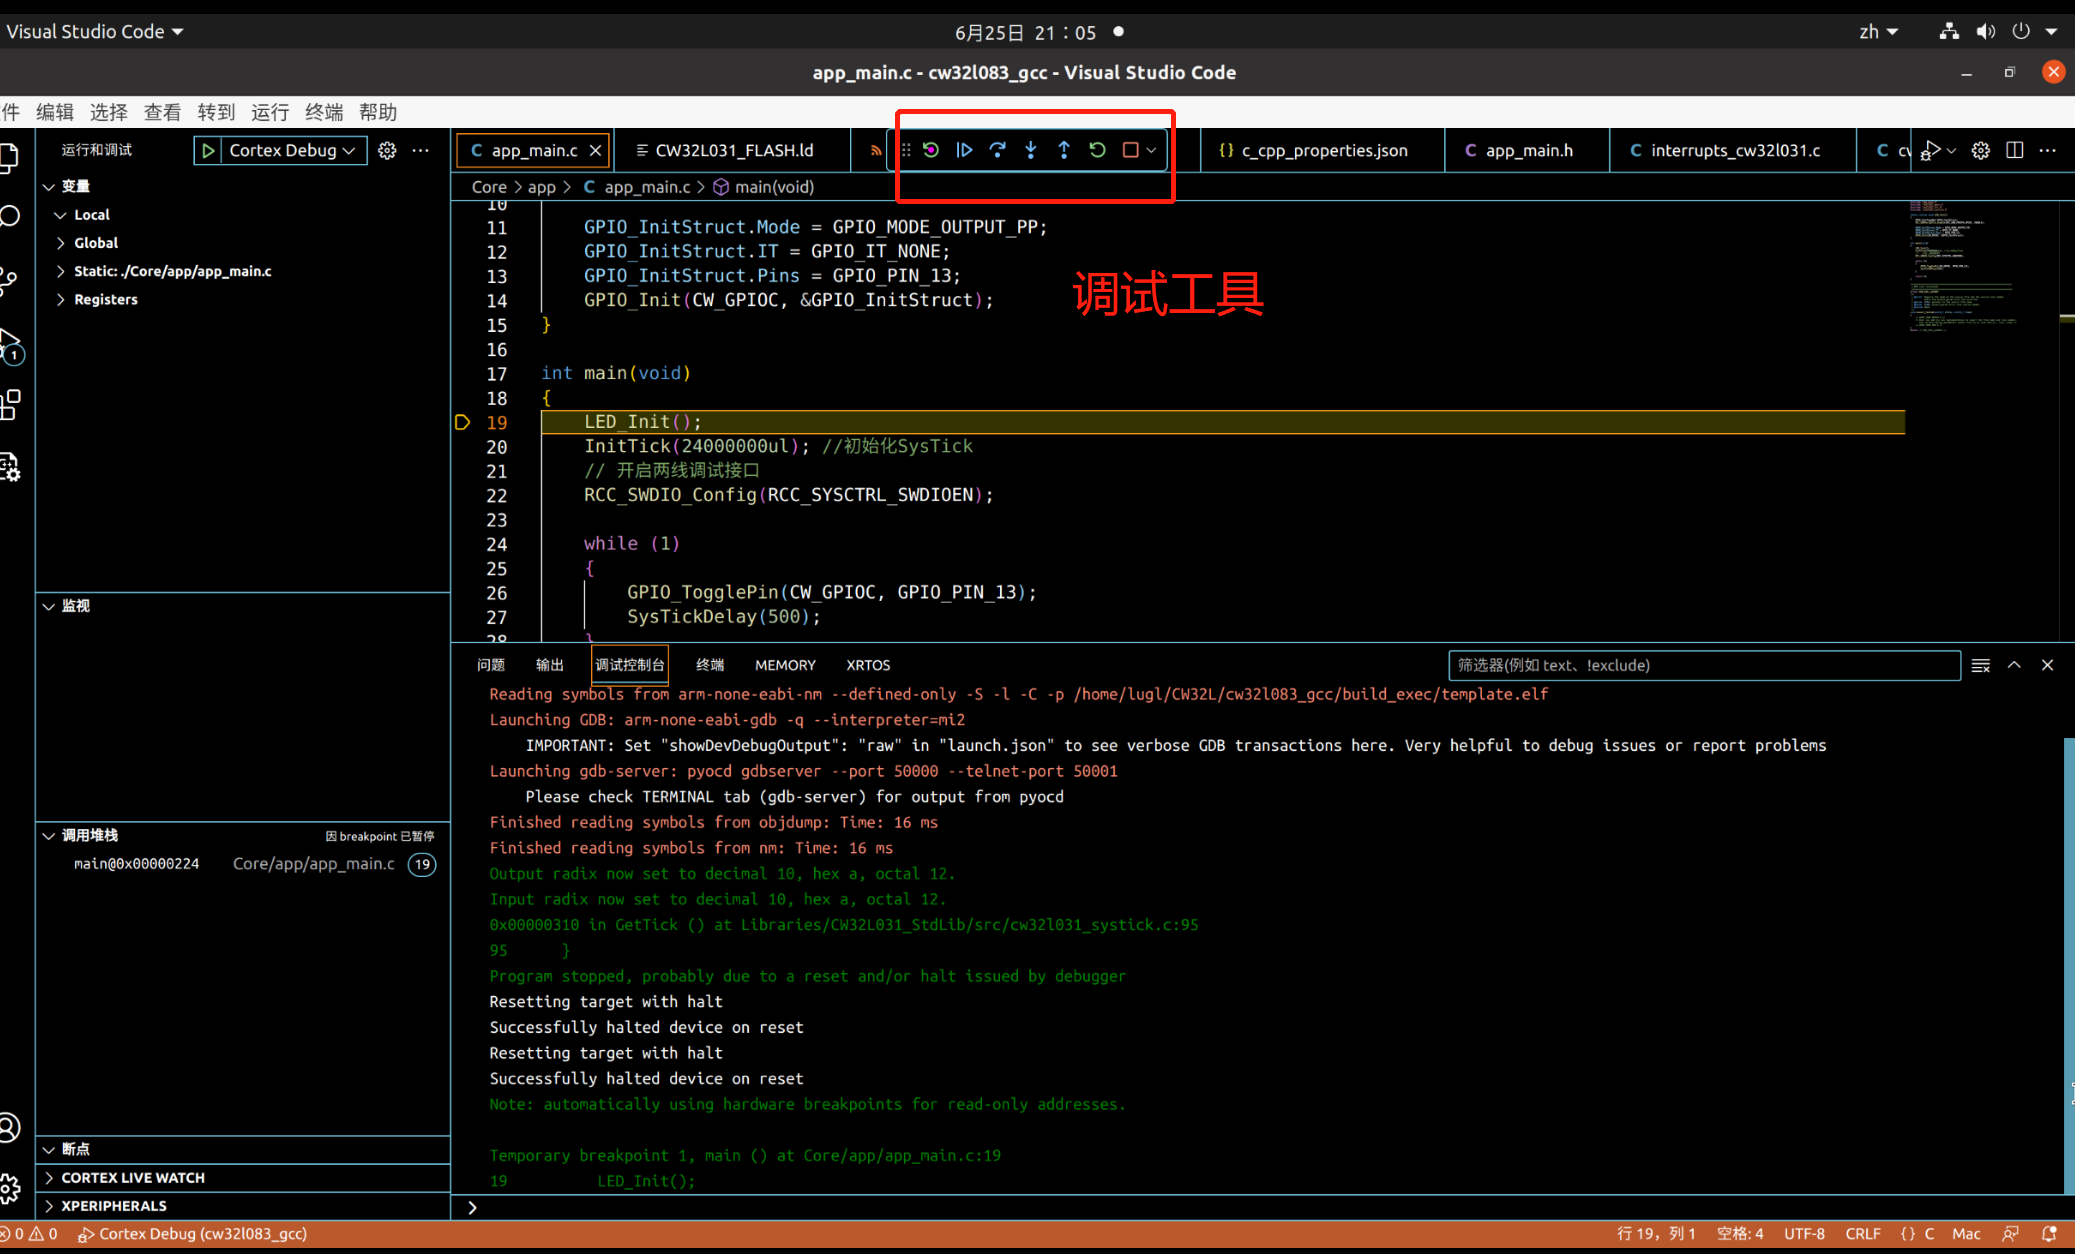
先在這里選擇您所需要的調(diào)試

實(shí)體硬件需要連接開(kāi)發(fā)板,qemu 需要運(yùn)行 bsp 路徑下的 qemu debug/dbg
按下 F5 即可開(kāi)始調(diào)試
-
gcc編譯器
+關(guān)注
關(guān)注
0文章
78瀏覽量
3689 -
RTThread
+關(guān)注
關(guān)注
8文章
132瀏覽量
41614 -
gdb調(diào)試器
+關(guān)注
關(guān)注
0文章
10瀏覽量
1162 -
vscode
+關(guān)注
關(guān)注
1文章
169瀏覽量
8414
發(fā)布評(píng)論請(qǐng)先 登錄
首創(chuàng)ubuntu下cw32l031的vscode+gcc工程創(chuàng)建、下載、調(diào)試

stm32cubeMX+vscode開(kāi)發(fā)編譯調(diào)試
在ubuntu中用vscode編譯調(diào)試C\C++
用VSCode開(kāi)發(fā)AT32單片機(jī)
MD-2000系列調(diào)制解調(diào)器使用和調(diào)試說(shuō)明書(shū)
使用 VSCode 遠(yuǎn)程 圖形化 GDB 調(diào)試 嵌入式linux

配置VScode編譯、調(diào)試STM32(二)Cortex-Debug插件

stm32cubeMX+vscode開(kāi)發(fā)編譯調(diào)試stm32程序

STM32全系列調(diào)試接口匯總

在VSCode中使用QEMU調(diào)試FreeRTOS
SH7125系列調(diào)試MCU板HS7125EDB01H、HS7125EDB02H、HS7124EDB01H用戶手冊(cè)

VSCode使用-搭建python運(yùn)行調(diào)試環(huán)境

SH7125系列調(diào)試MCU板 HS7125EDB01H HS7125EDB02H HS7124EDB01H 用戶手冊(cè)

使用VSCode調(diào)試嵌入式程序:如何切換gdb server


評(píng)論