內容簡介
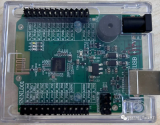
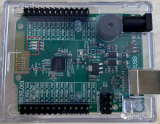
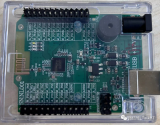
本文利用星閃BS25開發板NL001測試一下官方sdk中的外設程序uart,以便熟悉外設的基本操作。
測試工具
Operating system:Windows 10 home
deveco-device-tool-all-in-one:1.1.1_beta2
DevTools_CFBB:1.0.5
Compiler:CFBB IDE 1.0.3
Sdk:20230928
BurnTool:5.0.34
DebugKits_CFBB:3.0.98
Python:3.8.10
VSCode:1.66.2
Here we go
首先用“python build.py standard-bs25-app-evb menuconfig”配置工程為uart:

這里配置為interrupt方式。
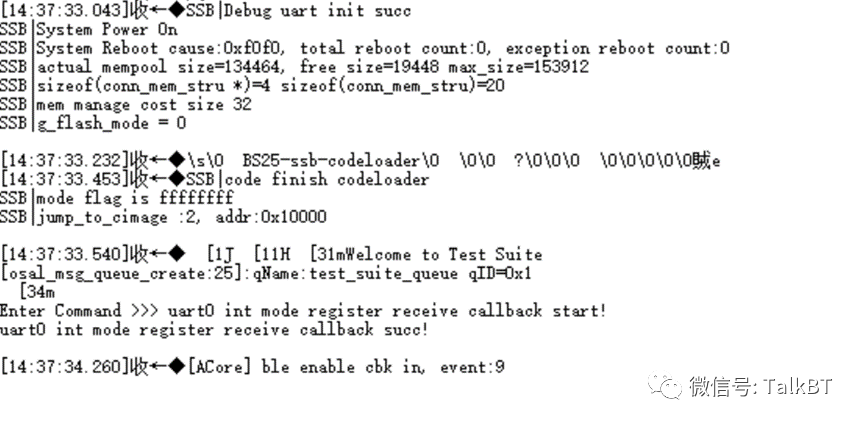
編譯后燒錄到板子上測試,默認程序就能跑起來。首先保持燒錄口(AP15和AP14)連接到電腦的UART口,打開串口調試助手查看log,上電后如下:
嘗試在串口發送123后返回數據:
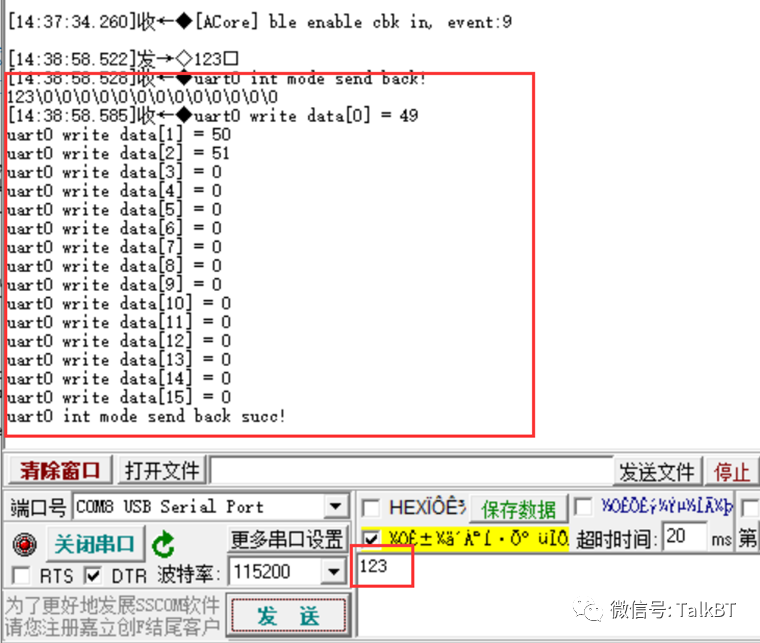
明顯默認程序運行正常,并且收到的數據也正常,默認程序是通過A_P15(TXD)、A_P14(RXD)與串口調試助手連接的,參數為115200、8、1、N。
想要自己整一下代碼,把AP12(tx)、AP13(rx)兩個引腳注冊到UART1上面,然后uart1收到數據后再重新在uart1上發送出去,uart0(AP15 TX, AP14 RX)繼續保留打印系統log的功能(該部分在os其他地方初始化了,并不是在uart_demo.c中初始化的)。
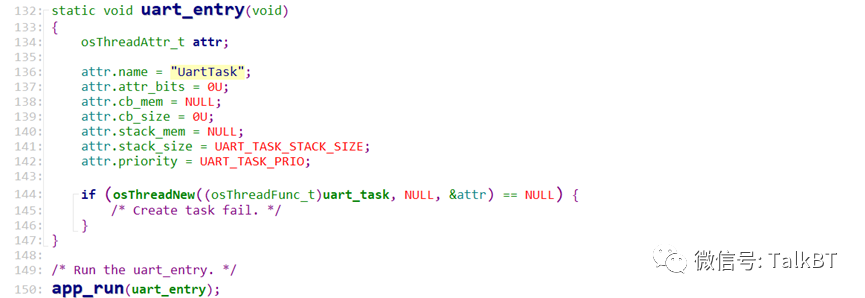
整了一下代碼:
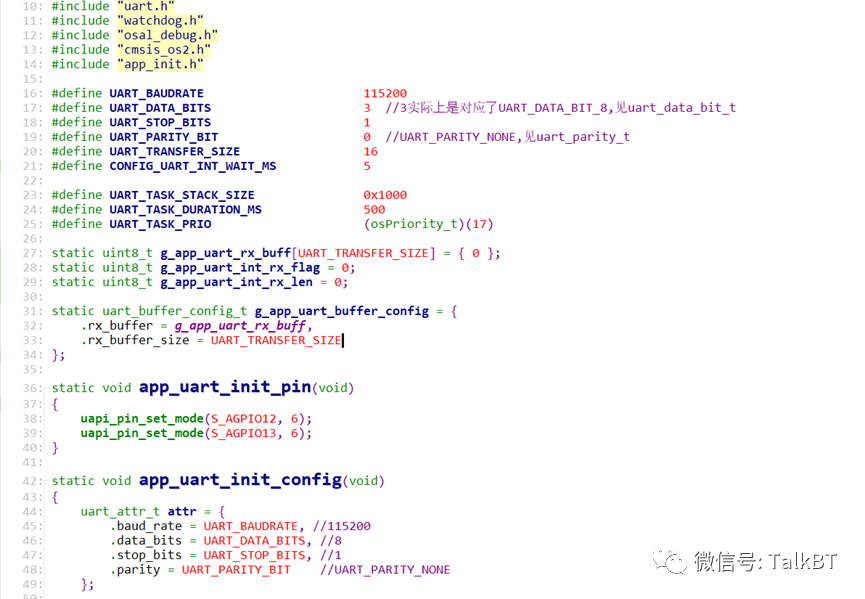
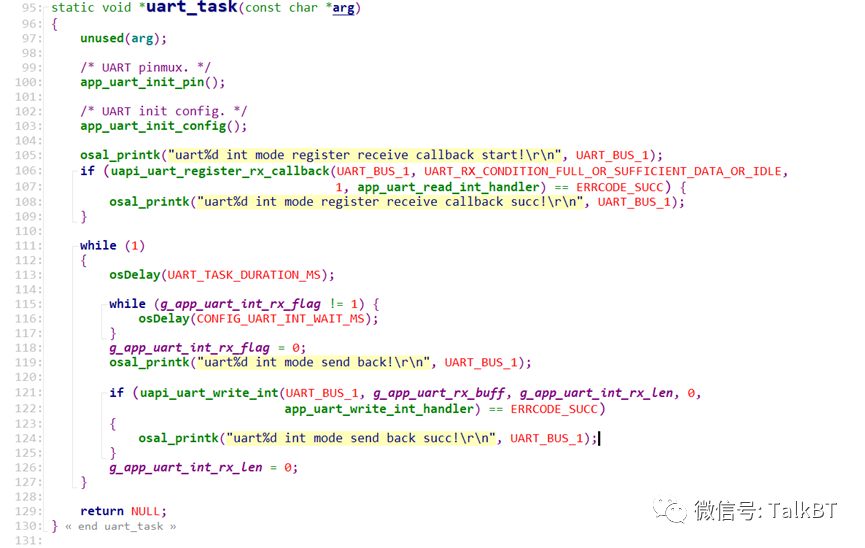
#include "pinctrl.h"
#include "uart.h"
#include "watchdog.h"
#include "osal_debug.h"
#include "cmsis_os2.h"
#include "app_init.h"
#define UART_BAUDRATE115200
#define UART_DATA_BITS3 //3實際上是對應了UART_DATA_BIT_8,見uart_data_bit_t
#define UART_STOP_BITS1
#define UART_PARITY_BIT0 //UART_PARITY_NONE,見uart_parity_t
#define UART_TRANSFER_SIZE16
#define CONFIG_UART_INT_WAIT_MS5
#define UART_TASK_STACK_SIZE0x1000
#define UART_TASK_DURATION_MS500
#define UART_TASK_PRIO(osPriority_t)(17)
static uint8_t g_app_uart_rx_buff[UART_TRANSFER_SIZE] = { 0 };
static uint8_t g_app_uart_int_rx_flag = 0;
static uint8_t g_app_uart_int_rx_len = 0;
static uart_buffer_config_t g_app_uart_buffer_config = {
.rx_buffer =g_app_uart_rx_buff,
.rx_buffer_size =UART_TRANSFER_SIZE
};
static void app_uart_init_pin(void)
{
uapi_pin_set_mode(S_AGPIO12,6);
uapi_pin_set_mode(S_AGPIO13,6);
}
static void app_uart_init_config(void)
{
uart_attr_t attr = {
.baud_rate = UART_BAUDRATE,//115200
.data_bits =UART_DATA_BITS, //8
.stop_bits =UART_STOP_BITS, //1
.parity =UART_PARITY_BIT //UART_PARITY_NONE
};
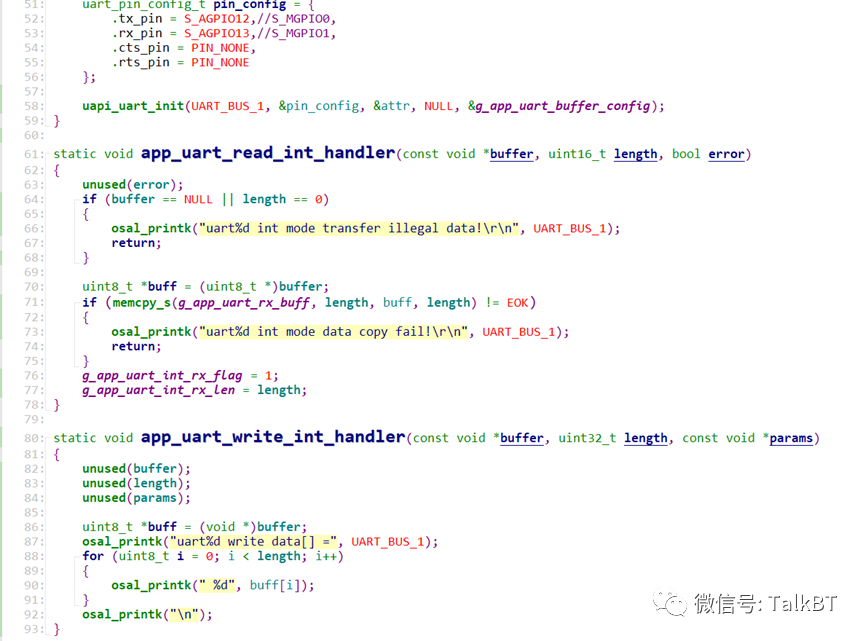
uart_pin_config_t pin_config ={
.tx_pin =S_AGPIO12,//S_MGPIO0,
.rx_pin =S_AGPIO13,//S_MGPIO1,
.cts_pin = PIN_NONE,
.rts_pin = PIN_NONE
};
uapi_uart_init(UART_BUS_1,&pin_config, &attr, NULL, &g_app_uart_buffer_config);
}
static void app_uart_read_int_handler(const void *buffer, uint16_tlength, bool error)
{
unused(error);
if (buffer == NULL || length ==0)
{
osal_printk("uart%dint mode transfer illegal data! ", UART_BUS_1);
return;
}
uint8_t *buff = (uint8_t*)buffer;
if(memcpy_s(g_app_uart_rx_buff, length, buff, length) != EOK)
{
osal_printk("uart%dint mode data copy fail! ", UART_BUS_1);
return;
}
g_app_uart_int_rx_flag = 1;
g_app_uart_int_rx_len = length;
}
static void app_uart_write_int_handler(const void *buffer, uint32_tlength, const void *params)
{
unused(buffer);
unused(length);
unused(params);
uint8_t *buff = (void *)buffer;
osal_printk("uart%d writedata[] =", UART_BUS_1);
for (uint8_t i = 0; i
{
osal_printk("%d", buff[i]);
}
osal_printk(" ");
}
static void *uart_task(const char *arg)
{
unused(arg);
/* UART pinmux. */
app_uart_init_pin();
/* UART init config. */
app_uart_init_config();
osal_printk("uart%d intmode register receive callback start! ", UART_BUS_1);
if(uapi_uart_register_rx_callback(UART_BUS_1,UART_RX_CONDITION_FULL_OR_SUFFICIENT_DATA_OR_IDLE,
1, app_uart_read_int_handler) == ERRCODE_SUCC) {
osal_printk("uart%dint mode register receive callback succ! ", UART_BUS_1);
}
while (1)
{
osDelay(UART_TASK_DURATION_MS);
while(g_app_uart_int_rx_flag != 1) {
osDelay(CONFIG_UART_INT_WAIT_MS);
}
g_app_uart_int_rx_flag = 0;
osal_printk("uart%dint mode send back! ", UART_BUS_1);
if(uapi_uart_write_int(UART_BUS_1, g_app_uart_rx_buff, g_app_uart_int_rx_len, 0,
app_uart_write_int_handler) == ERRCODE_SUCC)
{
osal_printk("uart%d int mode send back succ! ",UART_BUS_1);
}
g_app_uart_int_rx_len = 0;
}
return NULL;
}
static void uart_entry(void)
{
osThreadAttr_t attr;
attr.name ="UartTask";
attr.attr_bits = 0U;
attr.cb_mem = NULL;
attr.cb_size = 0U;
attr.stack_mem = NULL;
attr.stack_size =UART_TASK_STACK_SIZE;
attr.priority = UART_TASK_PRIO;
if(osThreadNew((osThreadFunc_t)uart_task, NULL, &attr) == NULL) {
/* Create task fail. */
}
}
/* Run the uart_entry. */
app_run(uart_entry);
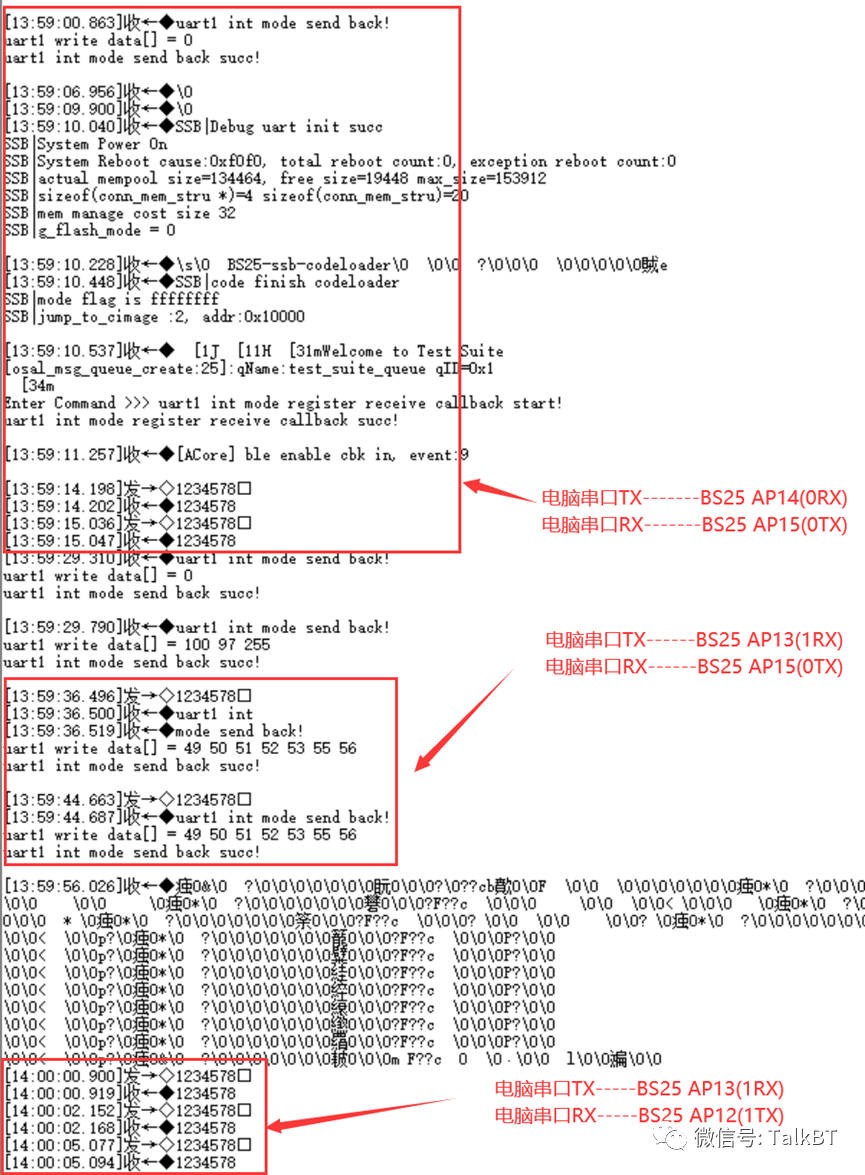
由于電腦只有一個串口,不能同時連接AP15,AP14和AP12,AP13兩個UART口進行測試,所以進行了以下測試:
從測試結果來看,UART0和UART1都已經能正常工作了,并且UART0是在引腳AP15和AP14上,UART1是工作在AP12和AP13上面,本例子程序只是對UART1進行了初始化,所以看來UART0是在系統其他地方進行了配置,并且通過調用osal_prink函數可以往UART0進行debug log發送。
所以個人感覺,UART0在萬不得已的情況下就不要去動它了,串口就用其他的UART BUS好了,除非其他的都不夠用了,那就再去研究一下怎么去使用UART0,對自己好一點,別亂折騰。
審核編輯:劉清
-
uart
+關注
關注
22文章
1235瀏覽量
101354 -
串口調試
+關注
關注
2文章
268瀏覽量
24712 -
python
+關注
關注
56文章
4792瀏覽量
84627 -
vscode
+關注
關注
1文章
155瀏覽量
7696
原文標題:遙遙領先,星閃芯片BS25外設程序測試—uart
文章出處:【微信號:TalkBT,微信公眾號:藍牙】歡迎添加關注!文章轉載請注明出處。
發布評論請先 登錄
相關推薦
如何選擇和編譯海思星閃BS25 SDK下的sle mouse工程
如何搭建星閃BS25開發環境
【BearPi-Pico H3863星閃開發板體驗連載】玩轉星閃,可視化呈現
如何搭建海思星閃BS25開發環境?


 利用星閃BS25開發板NL001測試官方sdk中的外設程序uart



評論